How to Enable Leech Protection in cPanel?

By Farhan Danish | June 13, 2026
Do you want to block users from sharing their login access to your website? Enable Leech Protection to block visitors from publicly sharing usernames and passwords, preventing unauthorized access to your protected directories.
Let’s guide with steps to enable leech protection in cPanel.
What is Leech Protection?
Leech Protection is a security feature, primarily in cPanel, that prevents unauthorized access to password-protected website areas by detecting and blocking excessive login attempts from the same credentials, often caused by password sharing or brute -force attacks, protecting sites like membership areas from credential abuse and ensuring only legitimate users get in on the website
What Enable Leech Protection Does?
Leech Protection cPanel detects unusual login activity in password-restricted directories. After setting a maximum number of logins within a two-hour period, the system redirects or suspends users who exceed it. If the limit is crossed or unusual activity is detected (such as the same credentials from multiple IP addresses), it will redirect users to a URL you specify, suspend the account, or send an email alert.
Process for the Leech Protection cPanel:
Set Up Leech Protection:
Step 1: Log in to cPanel of your website

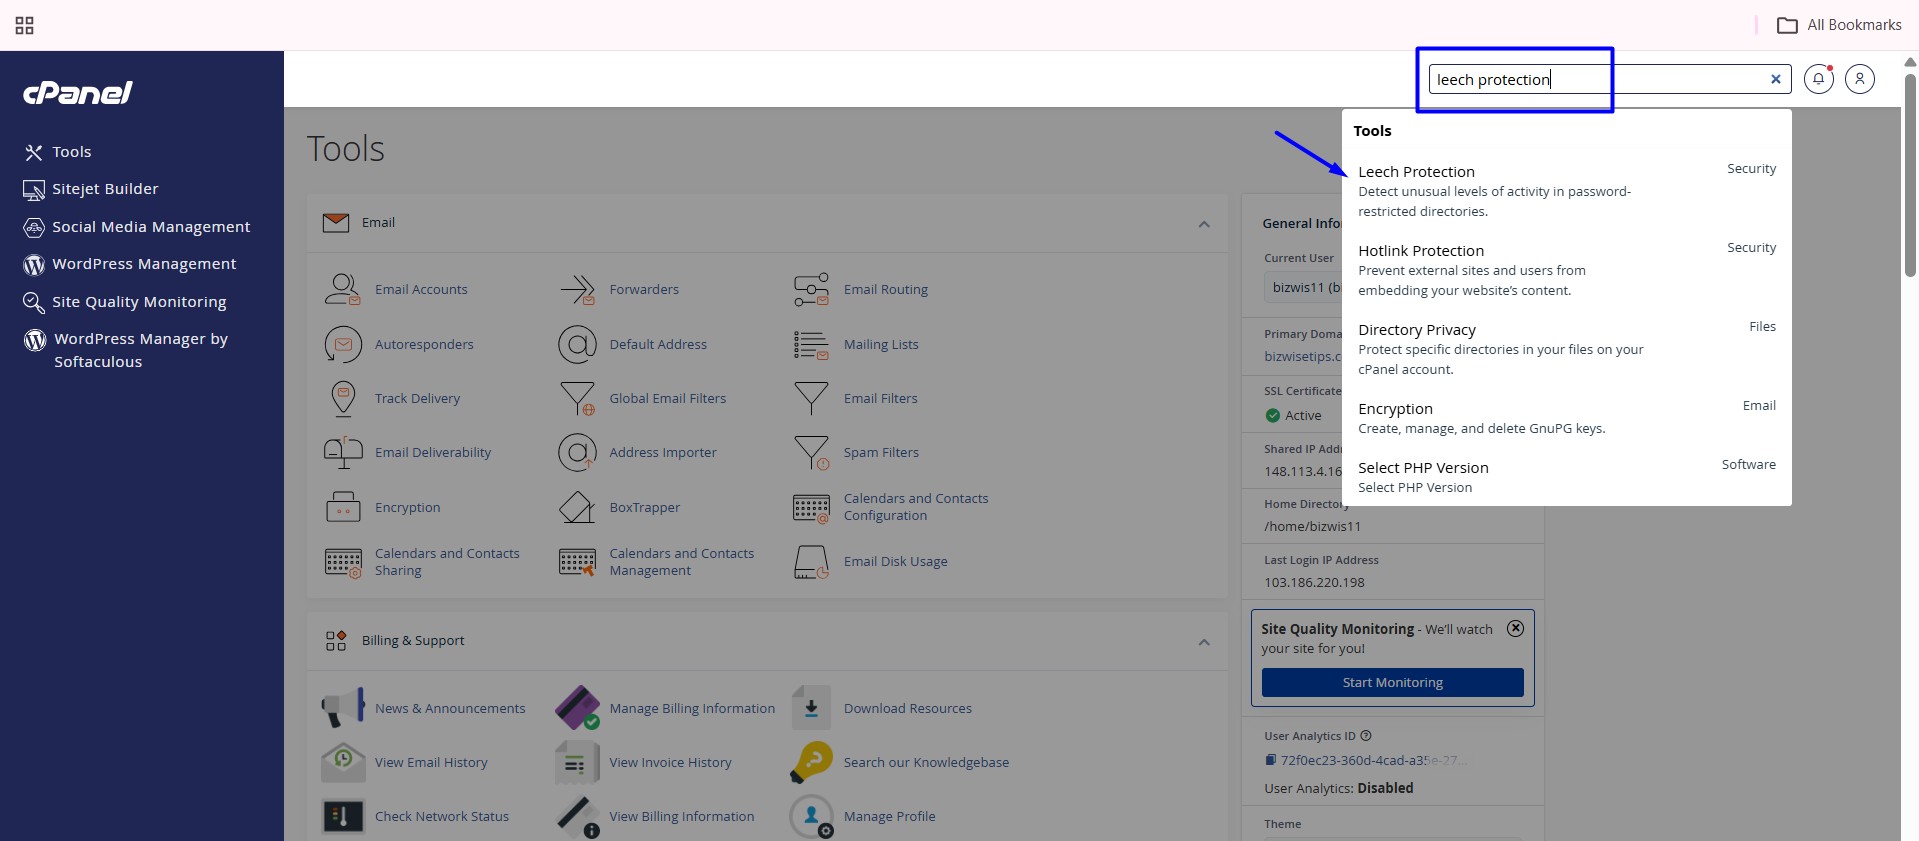
Step 2: Navigate or search Leech Protection.
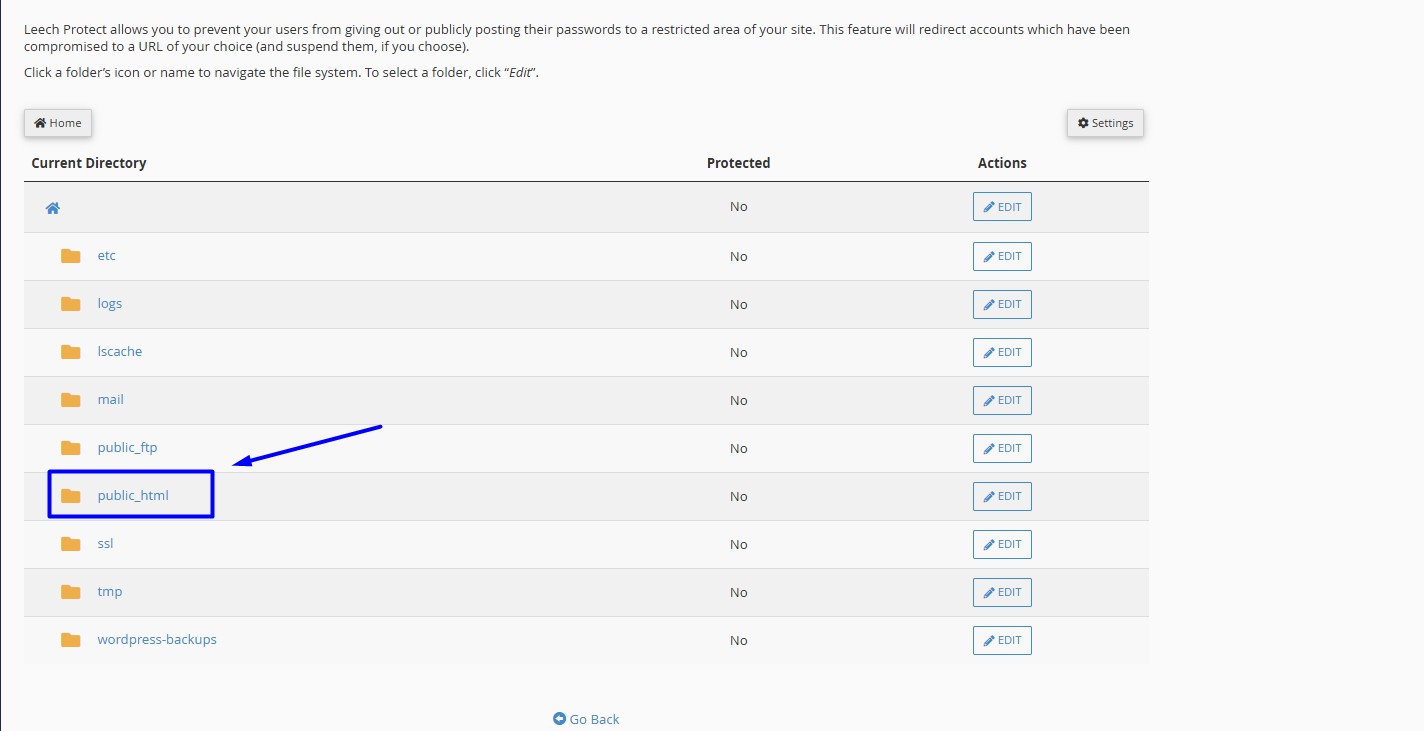
Step 3 : Select the folder, example “Public_html”, which you want to enable leech protection and click “Edit” option near the folder name.
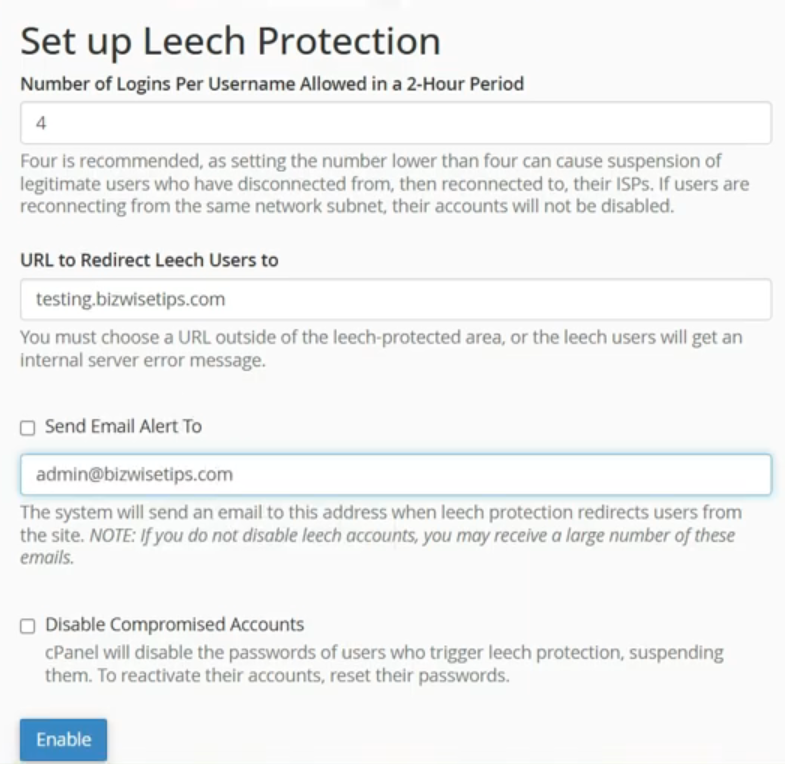
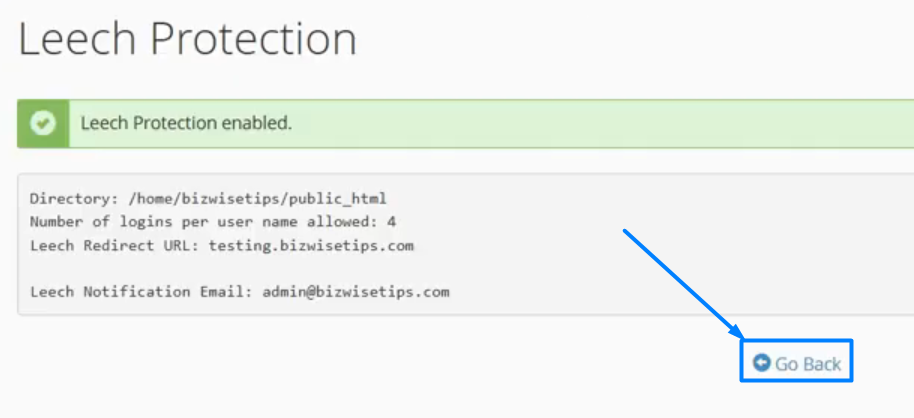
Step 4: Fill the required field to set up Leech Protection where you want to redirect and limit login attempts. Click “Enable” button once details are entered.
Number of Login per user – Enter the maximum number of logins that you wish to allow each user within a two-hour period.
URL to Redirect Leech Users – Redirect to specific URL if the user exceed the number attempt set.
Send Email Alert – Enter email address where you want to receive the report when leech protection cPanel redirects a user from the site.
Disable Compromised Accounts – Disable user who exceeds the maximum number of logins.
Step 5: Once enabled, click “Go Back” option to create users with password for the directory on next step.
Manage Users:
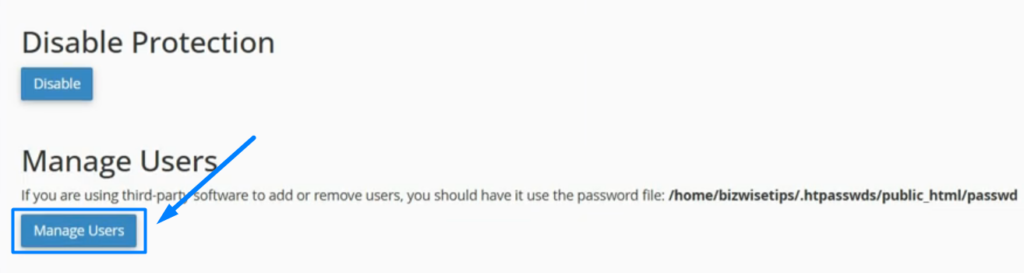
Step 1: Under Manage User section on bottom of the page, click “Manage Users” Button.
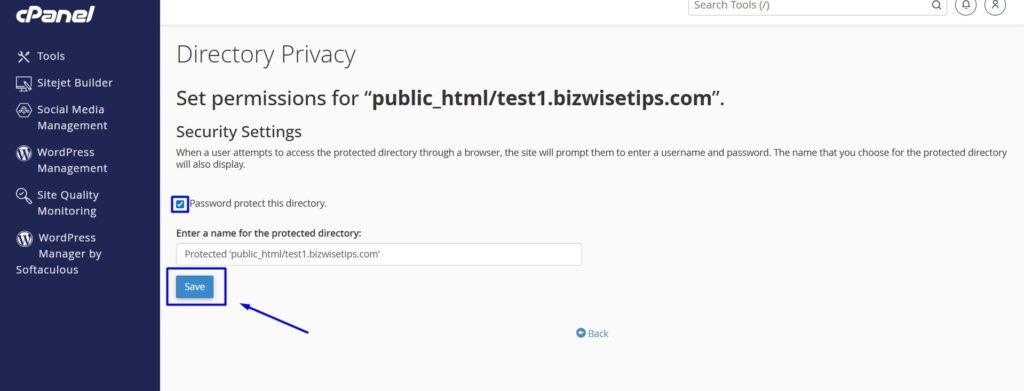
Step 2: Click the checkbox ‘Password protect for this directory’. Click ‘Save’ and go back.
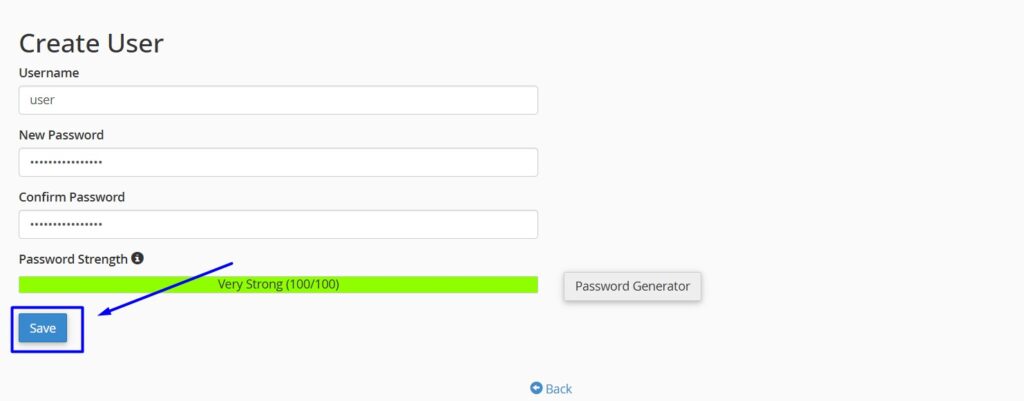
Step 3: Under ‘Create User’ section, enter the username and password to create a new user for the directory and click ‘Save‘.
Disable Leech Protection:
Step 1: Go to Leech Protection cPanel option and click Edit button near the directory in which you enabled leech protection.
Step 2: In the set up leech protection cPanel page, under Disable Protection” section click “Disable” button.
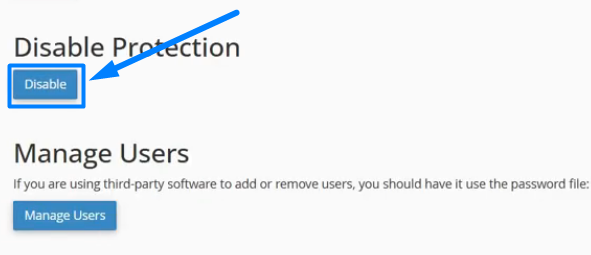
Step 3: Once disabled, click go back option to remove the password protection on next step.
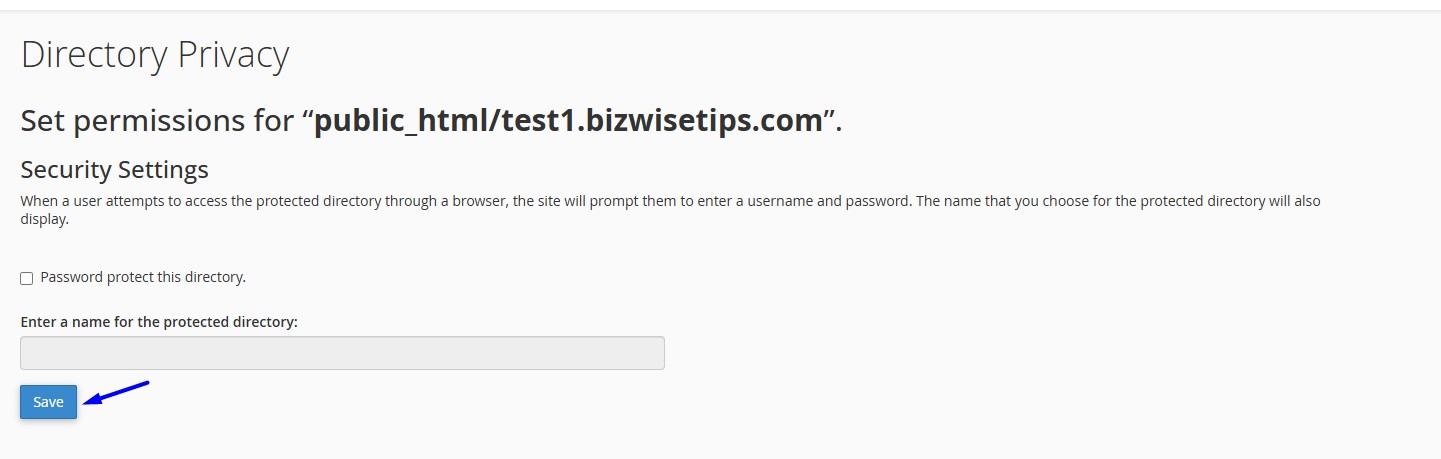
Step 4: In the same page under Directory Privacy section, Untick the Password Protect this Directory option and click save
Other Protection Ways in cPanel:
3. Install SSL
Reference Video: