How To Configure The SSL Certificate For Your Domain?

By swetha | June 26, 2023

An SSL certificate enables a secure connection between the web server and the browser. SSL certificates are digital certificates that provide encryption for your website data. It will make your website load with HTTPS(S- secured connection). An SSL certificate has many types, you can choose the best one as per your requirement. Now we will see the SSL Certificate configuration steps for your domain. To purchase SSL certificates for your domain click here.
SSL Certificate Configuration Steps:
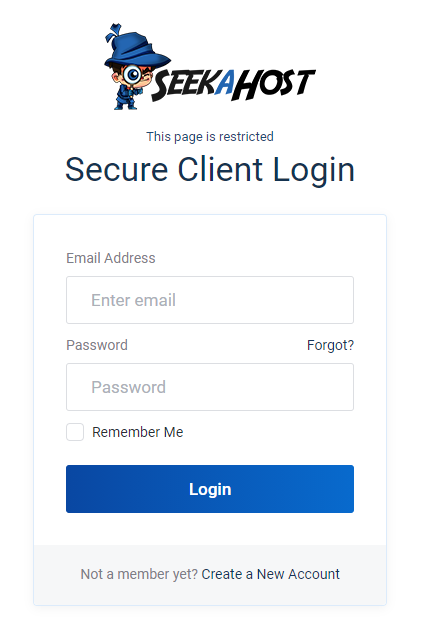
Step 1: Once you have purchased the SSL certificate with us, log in to the SeekaHost Client area.

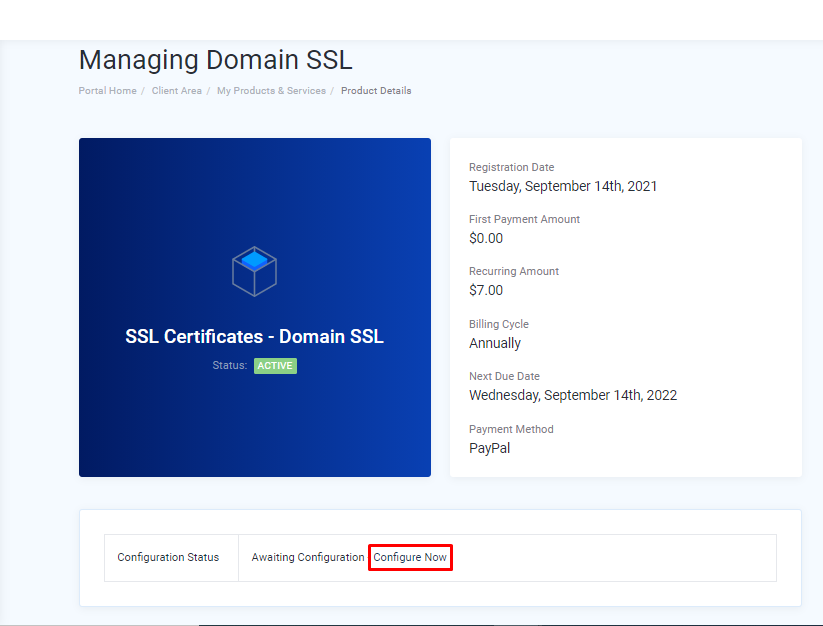
Step 2: In the Client area, Select Services -> Click the SSL certificate Package -> There you can see the “Configure Now” option and click that to start the configuration.

Step 3: After that, you will be redirected to the “Configure SSL Certificate” Page.
Step 4: Next you have to give the order type for your SSL certificate. If you want to renew your existing SSL certificate, then you can select “renewal” as type or choose the “New Order”

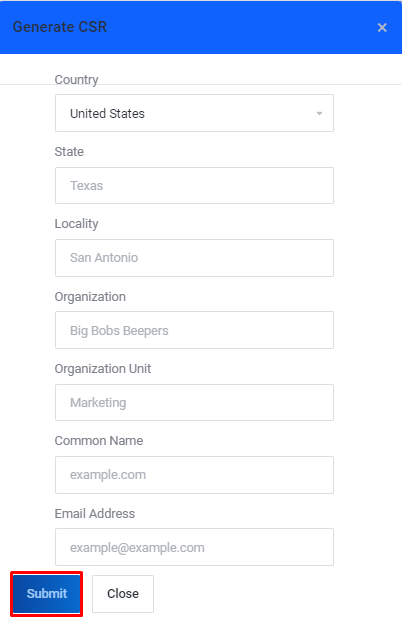
Step 5: Once, the order type is selected click the “Generate CSR” as mentioned in the below image.
 Step 6: Enter your CSR details.
Common Name – Enter the domain name that you want to activate the SSL certificate.
 Fill in all the required details and click “Submit”. Now the CSR is generated.
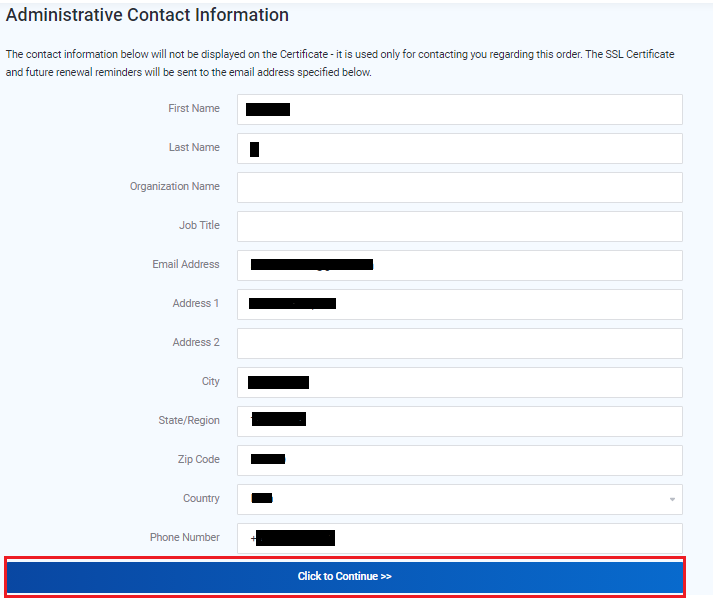
Step 7: Next, fill in the Administrative Contact Information Details on that same page.
You have to fill the Organization Name and Job title field. The remaining details are automatically already filled in based on your account information.

Step 8: At last, Select the “Click to Continue” button.
Step 9: Domain Control Validation (DCV)
Before the Certificate Authority(CA) issues the SSL Certificate to anyone, they need to check that the individual or organization has access to the domain. So you have three options for validation as below,

1. Email – If you select the Email as the Domain validation method, you will receive the validation email for the one below emails based on your selection.
2. HTTP/HTTPS – Upload the validation file in your host.
- If you choose the HTTP/HTTPS Validation Method, then you will get the Validationfile download link in the Manage Domain SSL page.
Download the validation file and upload it to the below-mentioned URL.
https://yourdomain.com/.well-known/pki-validation/CA12B9799A0EF4AFB44961C5A6DSDGMKM.txt
- Go to domain Control Panal -> File Manager -> Public_html -> .Wellknown -> pki-validation-> Upload the file here.
3. DNS – Updating the CNAME In DNS records.
- If you choose the DNS as the Validation method, You will get the DNS CNAME Record in the Managing Domain SSL Page.

- Add the mentioned DNS record on your domain registrar or in the domain cPanel Zone editor.
Step 10: Once the Domain Control Validation is completed, you will see the details as in the below image.

If you are a registered user in SeekaHost and have any queries to be clarified or issues to be sorted, you can raise a ticket through the client area dashboard. For immediate interaction or guidelines, contact our support team available in LiveChat at the right bottom corner of the website.
