
Guide to Purchase Business Email Address in India

By Farhan Danish | November 5, 2025
Creating a Custom Email Domain is essential for enhancing your company’s communication with clients. With a professional email, your brand identity gets easily reached and also boosts your credibility and trustworthiness from the very first interaction. By adopting a custom email domain, you can significantly strengthen your marketing efforts and drive sales through effective outreach.
In this article, let’s explore more about the Email hosting service and how you can purchase email services with us!
What is a business email?
To achieve your business email, reach your customers or clients, keeping an email account ending with @domain-name would help you reflect that. instead of ending with the generic gmail.com and aol.com, at Seeka Host, we have a dedicated business email hosting service for business users to have a first point of contact with new customers by configuring a few mail records in the domain without much complication, like other email service providers have.
Steps to Order Business email in SeekaHost India:
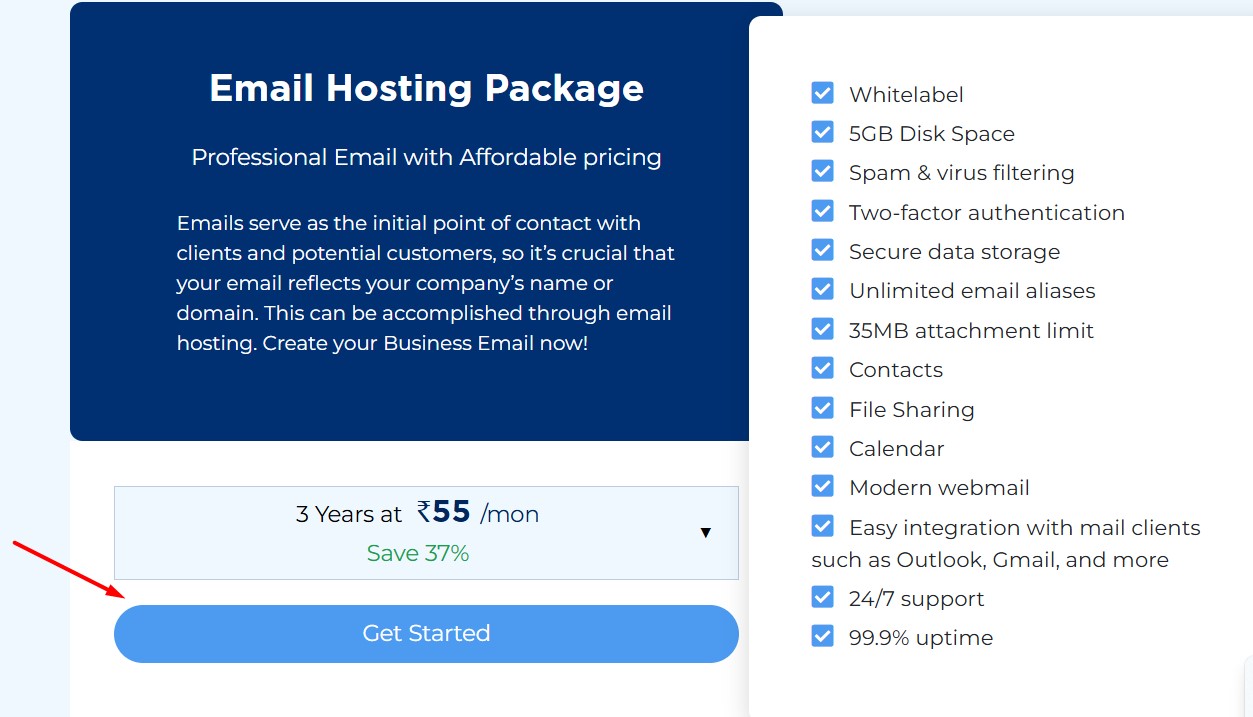
Step 1: Click and Purchase the email hosting from this link – > https://www.seekahost.in/email-hosting/
Step 2: click Get Started.
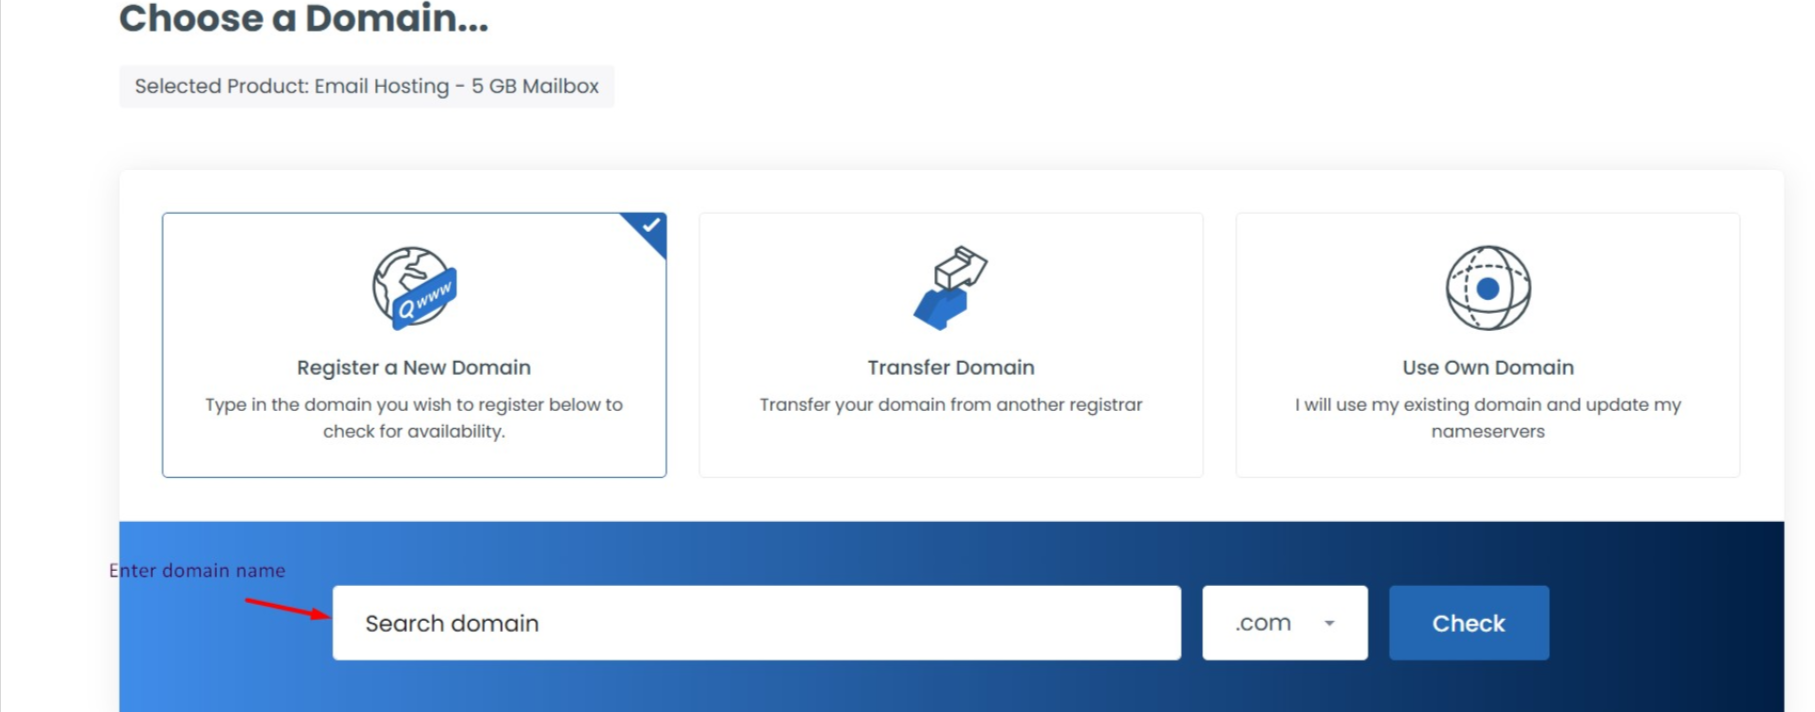
A new page will pop up by asking to enter the domain name.
Step 3: Enter the domain name, that would like to use for business email.
If are going to register a new domain along with business mail, click the ‘Register a New Domain’ option and click Check option.
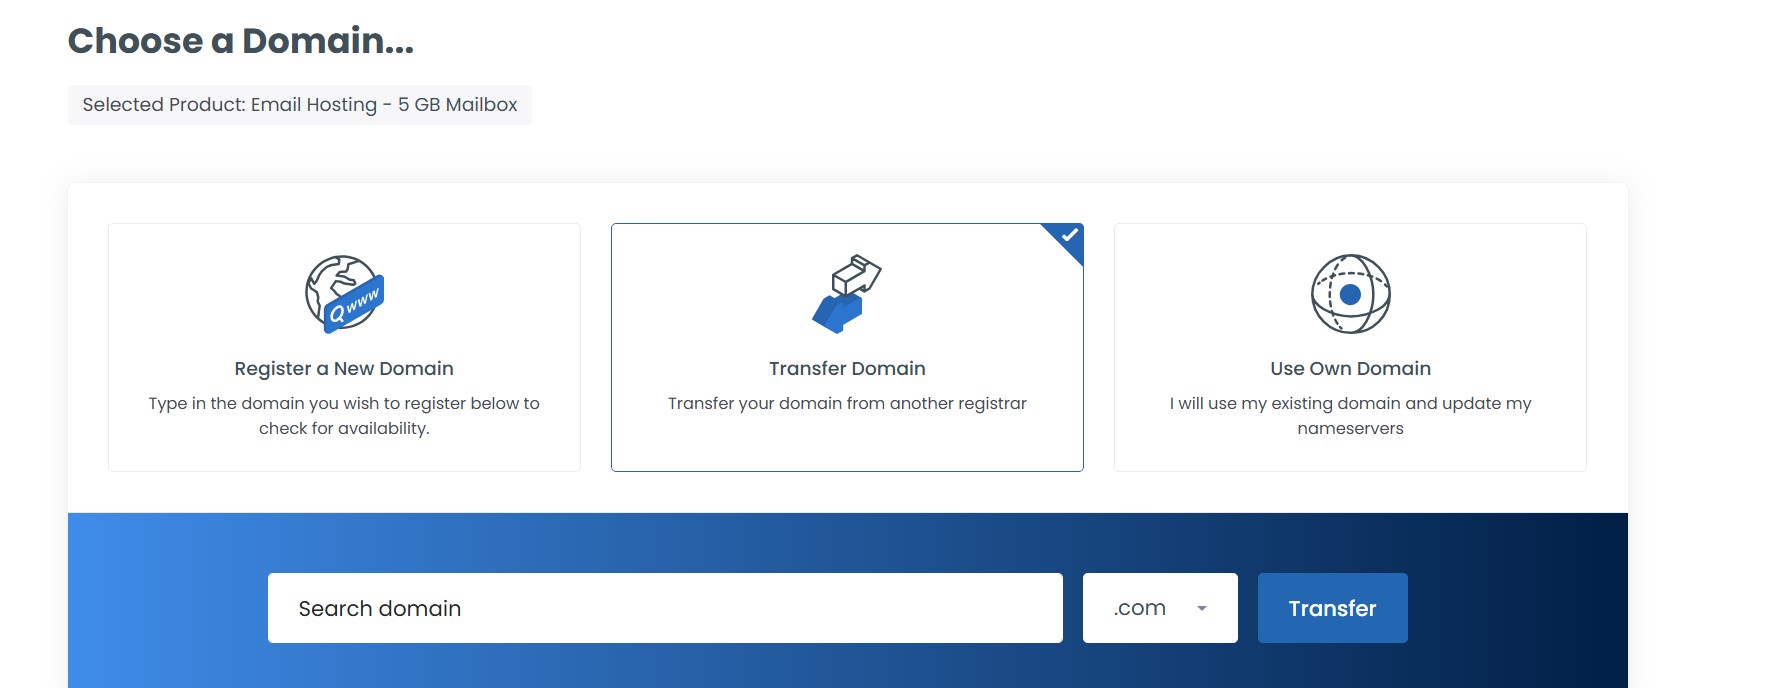
If are going to Transfer a domain along with business mail, choose the ‘Transfer Domain’ option and click Transfer.
If you want to use your own domain, choose ‘Use Own Domain’ and click ‘Use’ to continue

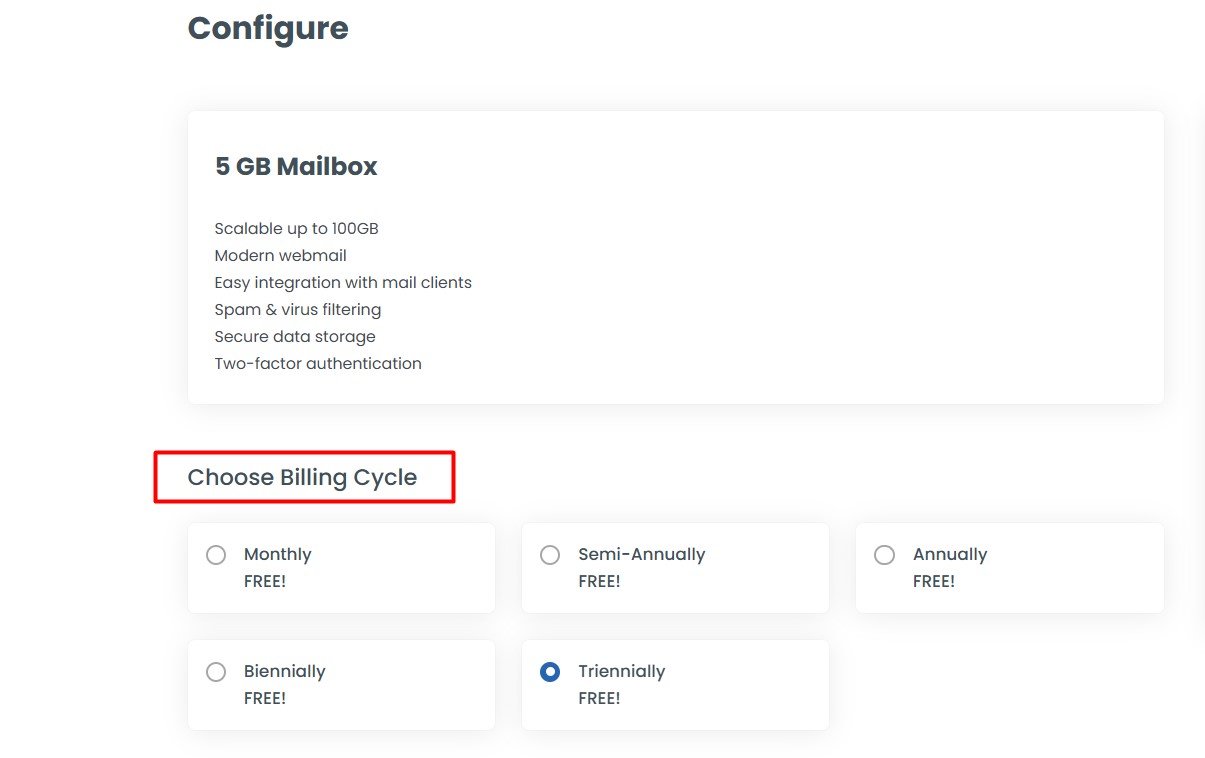
Step 4: Customize the Resources for the Business Email
In the checkout package, you can choose the billing cycle.
On the same page, you can increase the mailbox count as per your requirements.
If you register a domain name with sample.com and want to create email accounts with admin@sample.com and info@sample.com and then increase the mailbox count to 2 and so on.
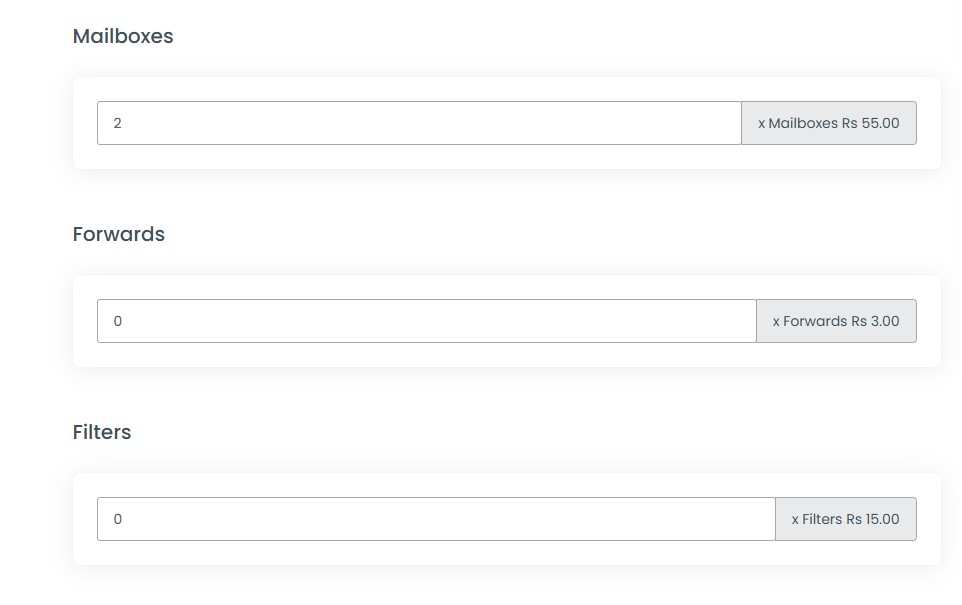
If you want forwards and filters Add-on options for your mail, you can set the count as 1 or increase it even more as per your requirement.
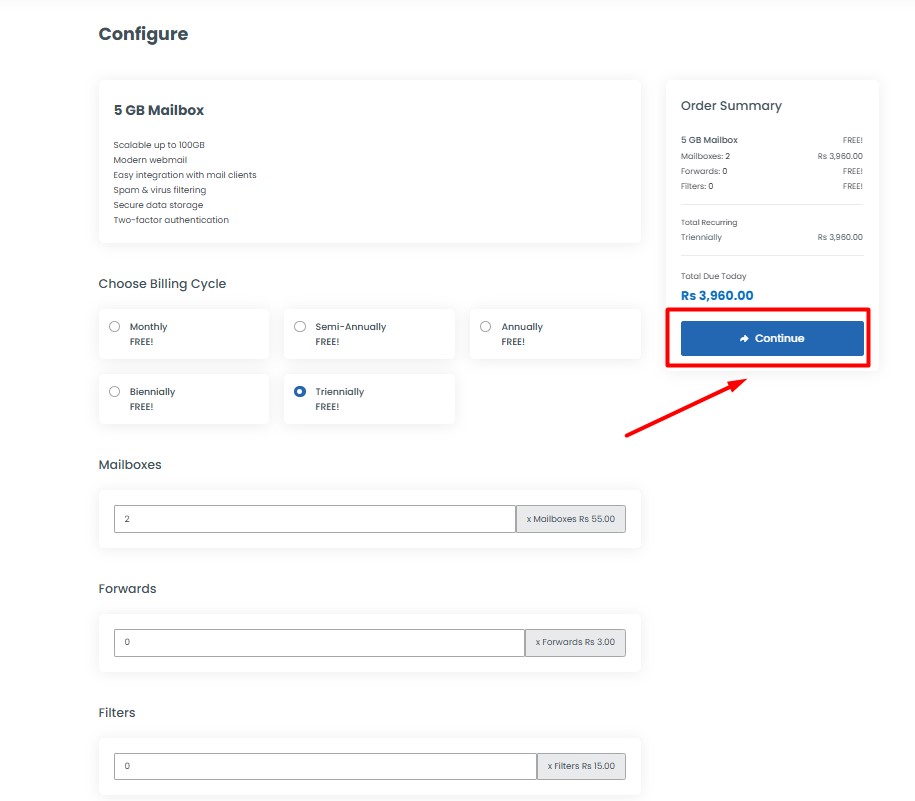
Finally, click ‘continue’ to check out.
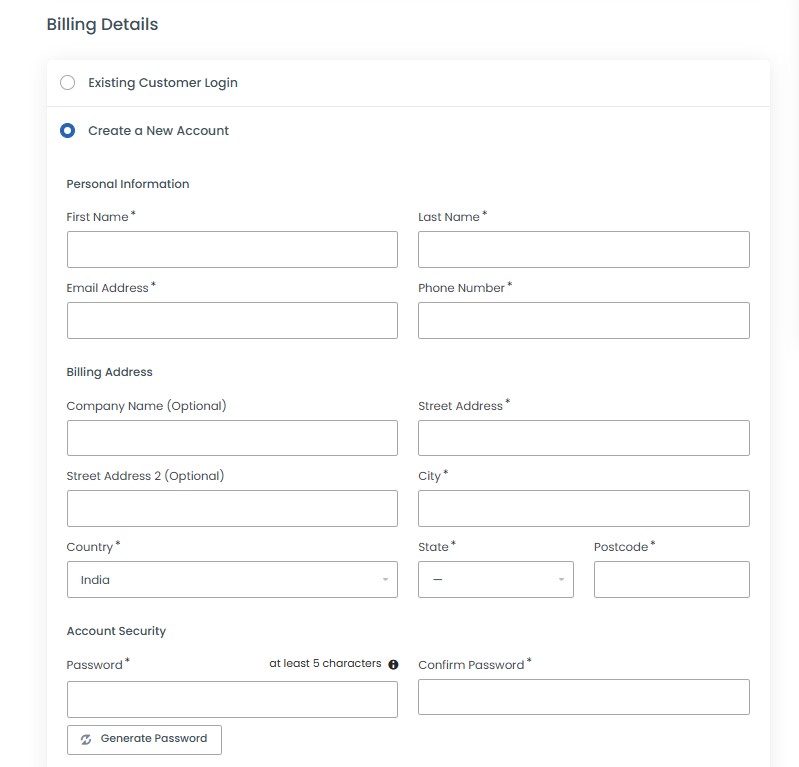
Step 5: To Create an Account with us
If you already had an account with us, choose “Existing Customer Login” option. If you doesn’t have an account, choose “Create a New Account” and update the valid and correct details.
Step 6: Choose Payment Method
Choose the Payment method from the available options on the review and checkout page, if your preferred payment option is not available. (Currently, we are not accepting any Crypto payments).
Once selected, please click the Check box for the term of service and checkout.

If you are facing an issue with the payment method, please reach out to us through chat support.
Step 7: Receive Confirmation
After the payment is done, you will receive an order confirmation via email. After that, you need to verify the email verification for the account so you do not miss any important updates from us and validate the account.
If you didn’t receive any emails, please cross the email address spelling and click “Resend Verification Email” to get the link.

Setup Business Email ID
You will receive the mail records – mx records, spf, and txt records details to your registered email, subject as ‘Mail Hosting Order Details’
Follow the useful resources link to setup the record.
If your domain is registered here and set it as the default nameserver, then configure SeekaHost India Email Hosting with domain
If you have updated the custom nameserver for the domain, using cPanel as the control panel then you should manage the mail records in the cpanel only.
If you are using Cloudflare nameserver in your domain, then you should update the mail record in Cloudflare only.
Add Dkim Records -> Setup Dkim records on your domain.
Once all the records have been updated, wait for propagation to complete all over the world.
Then you can able to use and manage the mail service from the client area.