How to Connect MySQL Database in WordPress?

By Farhan Danish | February 15, 2026
Do you already have WordPress already installed? Do you need to configure existing database with WordPress? You should connect MySQL database in WordPress in order to live the content from the database data stored through phpMyAdmin.
When you see “Error Database Connection” or any db fatal error on WordPress even when you have WordPress already installed, it means that the WordPress is not connected to the correct database or not properly configured.
Let’s find How to Connect MySQL Database in WordPress with step-by-step guidance and resolve this issue as well.
Prerequisites:
2. Purchase Hosting Package.
3. Install WordPress in cPanel.
4. MySQL Database and Add User.
How To Install WordPress In cPanel?
- Login to your cPanel Account using the provided login details.
- Your Hosting provider will provide easy install options through One Click Installer or Softaculous.
- In cPanel, click ‘WordPress Manager By Softaculous’ on left side. You can install new WordPress or can check the existing installation.

- To install new WordPress, you want to click on the ‘Install’ button which shows over the WordPress.

- Make sure the directory section is empty so that WordPress will install in the root directory of your website. Also, choose protocol as you wish from the drop-down.
- Note down the login details of the WordPress and click ‘Install‘ which is at end of the page.

Once you click the install button, your WordPress will be installed and will get the WordPress URL for the website as well.

To check the existing installation,
- Once you enter that particular window, you can see all the WordPress install on the cPanel and can directly login to WordPress by clicking the ‘Login‘ button.

Troubleshoot WordPress Issue:
Edit Installation:
1. In cPanel, search ‘Softaculous‘ and click ‘Softaculous Apps Installer’.

2. Now click ‘Installation‘ option and click ‘Edit Details’ icon.

Here, you can edit the following details on the installation if you want to make any changes on the website ‘wp-config‘ file or database and username to Connect MySQL Database in WordPress.
1. Directory
2. URL
3. Database Name
4. Database User
5. Database Password
6. Database Host
How to Login to WordPress:
1. Domainname.tld/wp-admin
2. Domainname.tld/wp-login.php
3. Domainname.tld/admin
4. Domainname.tld/login
5. Direct Login through Softaculous in cPanel.
Replace the word ‘Domainname.tld‘ with your website full URL where WordPress is installed.
Recover Lost WordPress Password:
- Domainname.tld/wp-login.php?action=lostpassword
- Reset Password through phpmyadmin
- Reset through plugin
Video Tutorial:
How to Migrate WordPress Website using Plugin?
1. All in one Migration
2. WPvivid
Before doing the migration process, point the domain to old hosting provider and take the backup. Once done, point the website locally in your computer to new hosting IP address to avoid facing website downtime.
1. All in one Migration
Install the All in One WP Migration plugin and active it. It is recommended to uninstall the security and cache plugins to avoid issues.
Follow the below steps after installing the plugin.
Old Server / Hosting
Step 1: Log in to your Current site’s WordPress dashboard where you have the data.
Different ways to login to WordPress dashboard:
1. Domainname.tld/wp-admin
2. Domainname.tld/wp-login.php
3. Domainname.tld/admin
4. Domainname.tld/login
5. Direct Login through Softaculous in cPanel.
NOTE: Replace the word ‘Domainname.tld‘ with your website full URL where WordPress is installed.
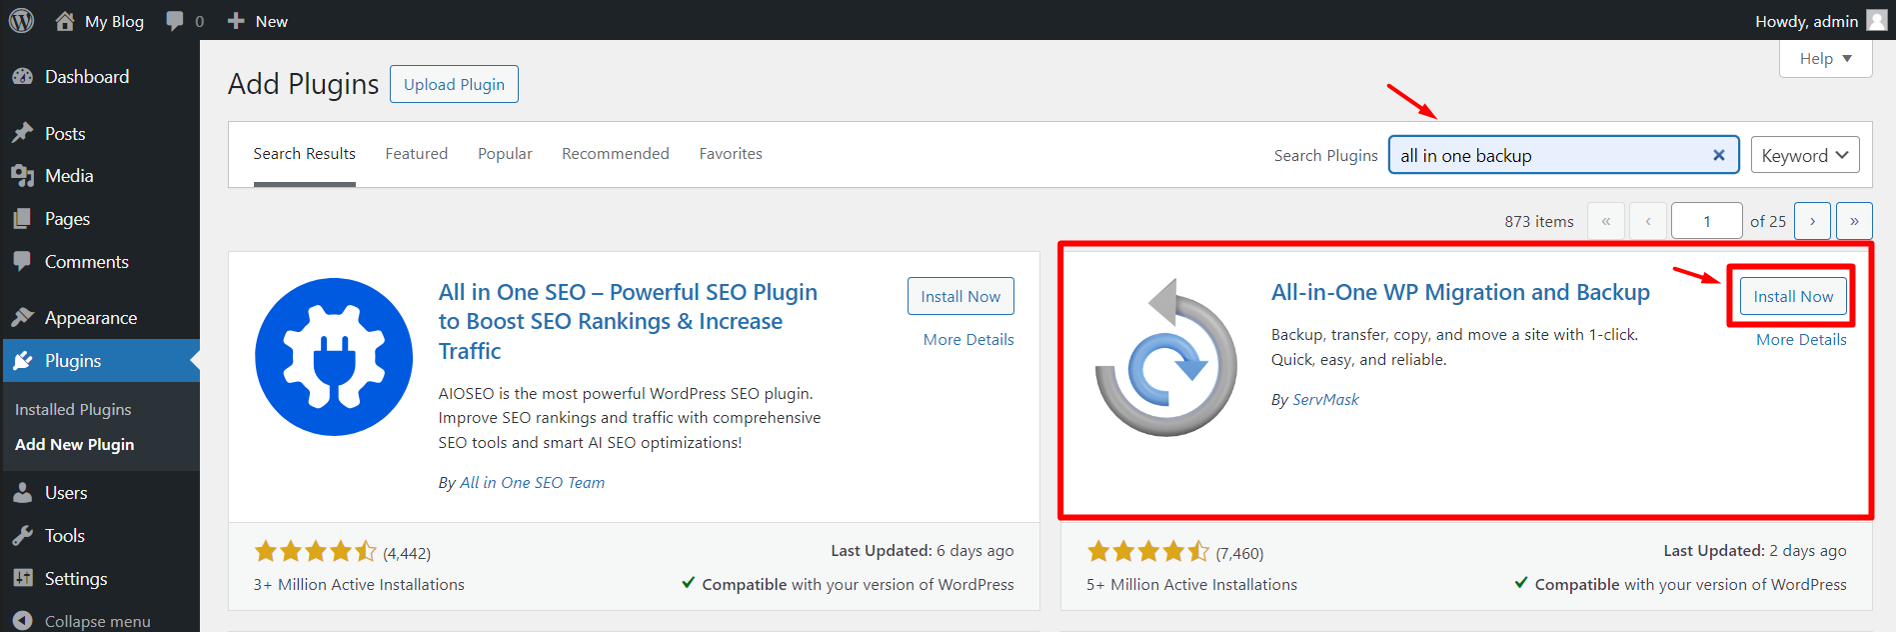
Step 2: Navigate to the Plugin section on the left side and click Add new plugin button.

Step 3: Search “all in one backup” in the search box at the right-side corner and click “Install Now”. After that, click “Activate” to enable the plugin.
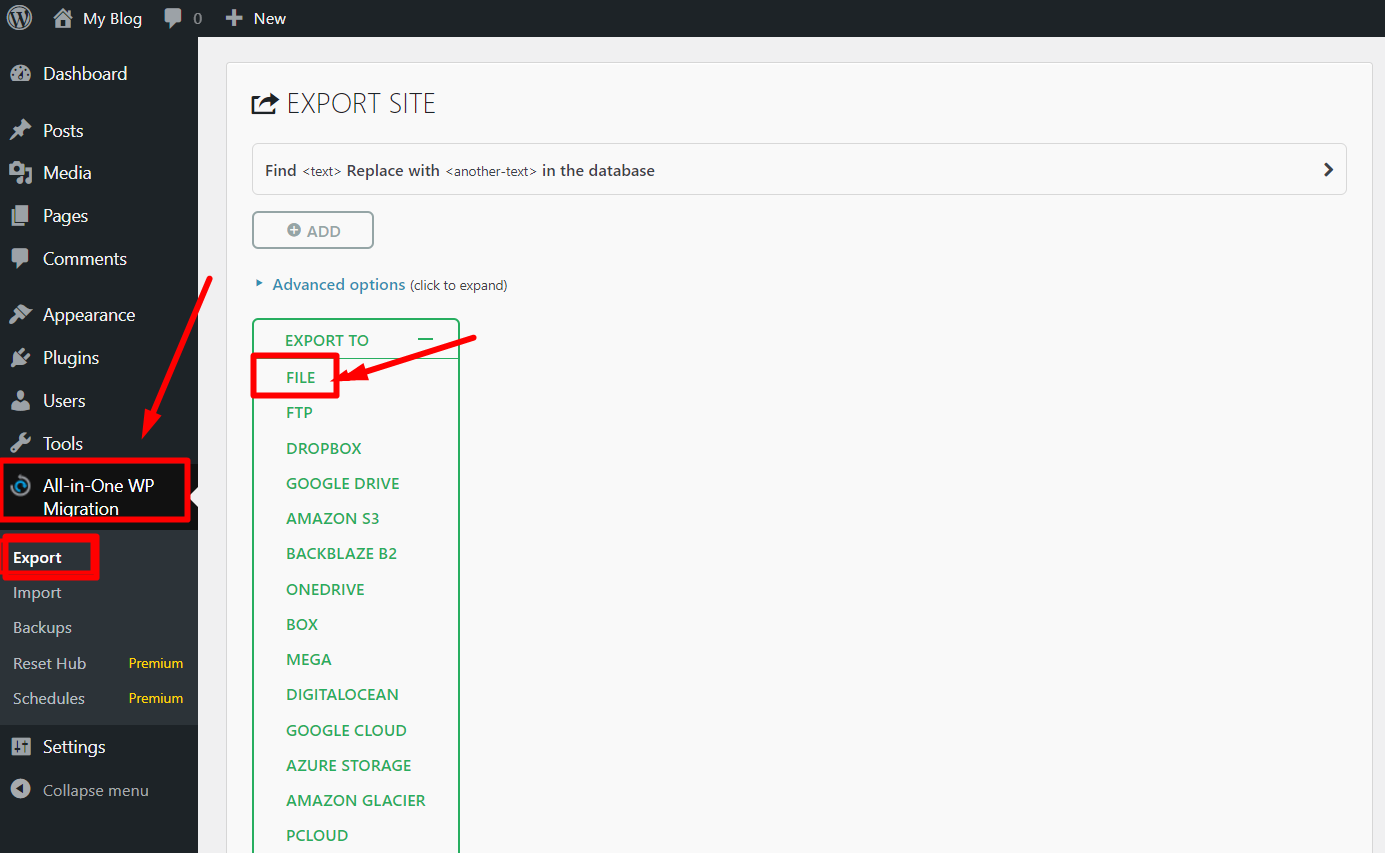
Step 4: Now click “All-in-one-Migration” option on the left side -> “Export” -> File.
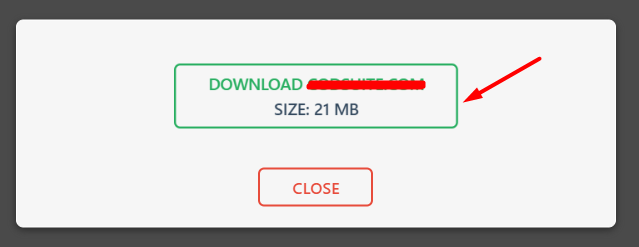
Step 5: Once it generates the backup, Click “Download“.
New Server / Hosting
Once you installed the WordPress and the plugin in new server, follow the below steps.
Step 1: On left side section, click “All-in-One WP migration” -> Import and upload the downloaded backup file.
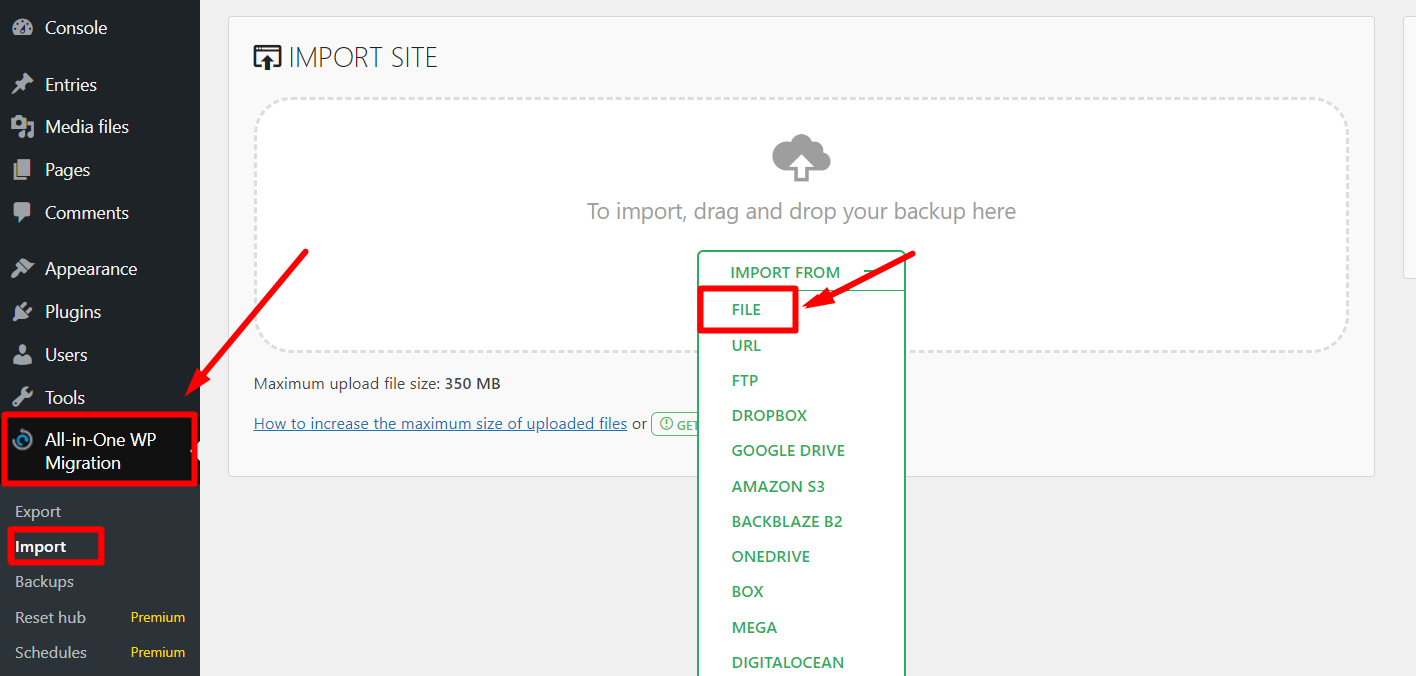
NOTE: If your back file size is more than 350MB, you need to increase the upload file size in the multi php INI editor.
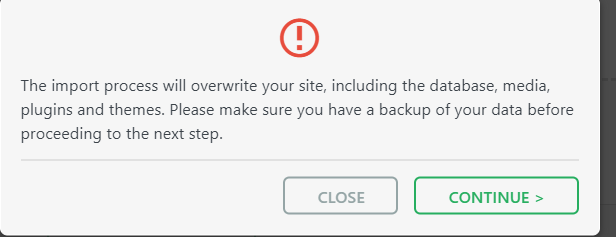
Step 2: Click “Continue” button to overwrite the files of the website and complete the migration.
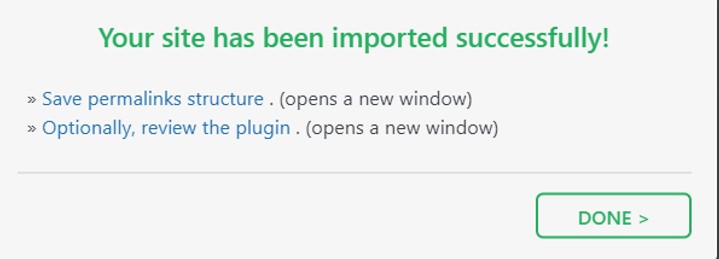
Please wait until it is completed, once completes 100% then you will receive message imported successfully message.
Steps to Migrate a Website Without Downtime
- Buy the new Hosting and create hosting for your domain name. (Ex: www.example.com)
- Don’t change the NameServer to your new hosting.
- Before that you must upload the Website Backup and want to check whether the site is perfect or not.
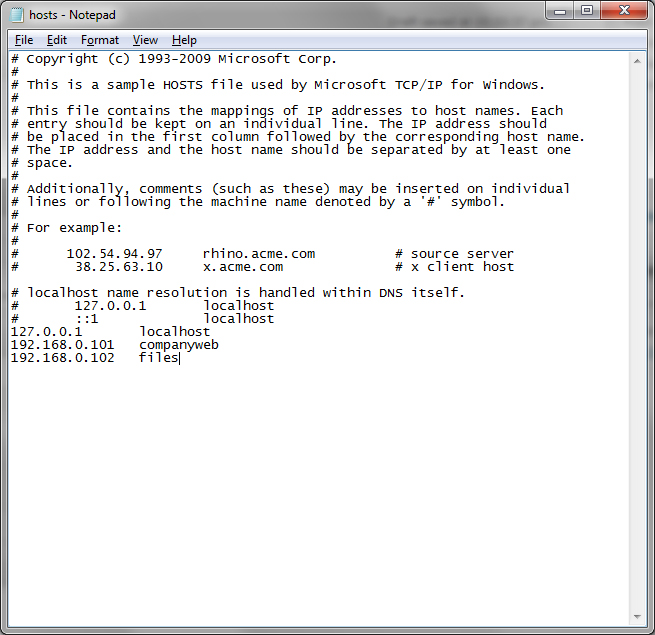
- For that you need to change the host file in your Personal Computer.
- In Windows 8, 8.1, 10 go to C:\Windows\System32\drivers\etc and there you can find a file name hosts.
- Open the file in Notepad or Notepad++. (This requires Administrator Access)
- Collect the IP Address of your new Server and add it in your host file.
- Example:
- 192.168.123.12 www.example.com
Open the Command Prompt and Add the below lines to flush the DNS Resolver Cache.
-
- ipconfig /flushdns
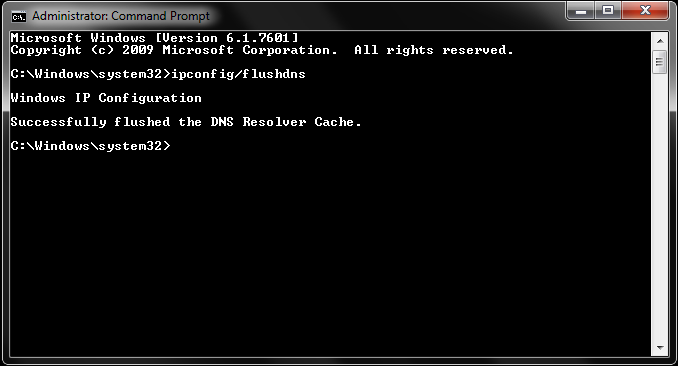
- Now if you open your website on your Personal Computer where you edited the host file, you will be pointed to the new server. But the People from other computers will be normally pointed to the old server where DNS NameServer is pointing.
- Once after Migrating and checking the Website, Change the Host file on your Personal Computer and Change the NameServer details as well.
2. WPvivid Plugin
Install the WPvivid Plugin and active it. It is recommended to uninstall the security and cache plugins to avoid issues.
Follow the below steps after installing the plugin.
Old Server / Hosting
Step 1: Log in to your Current site’s WordPress dashboard where you have the data.
Step 2: Navigate to the Plugin section on the left side and click Add new plugin button.
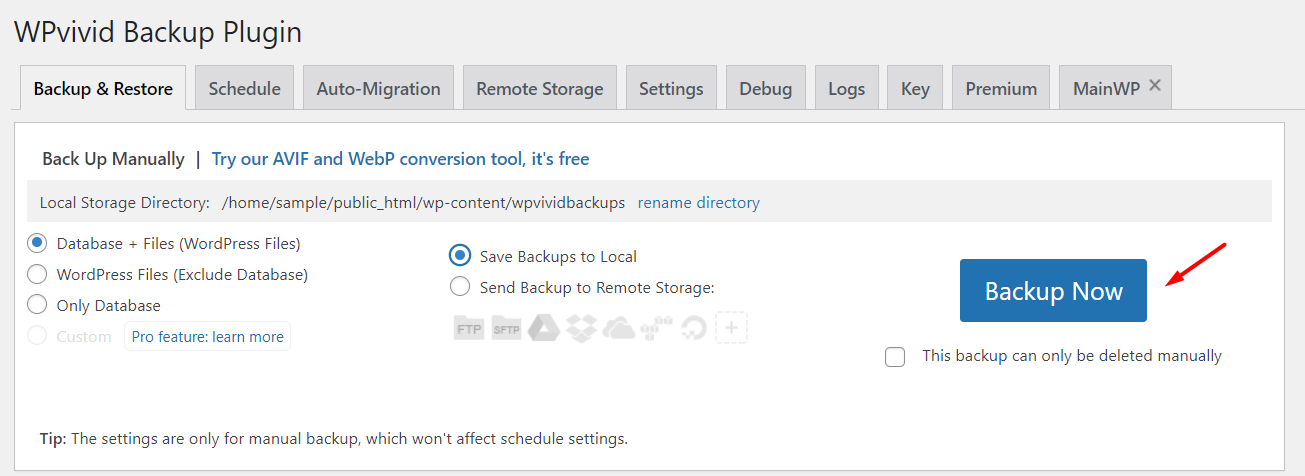
Step 3: Choose the database + Files option and click Backup Now
Step 4: Once the backup generated is completed. Scroll down at the end of the page and click the Download option as shown in the below screenshot.
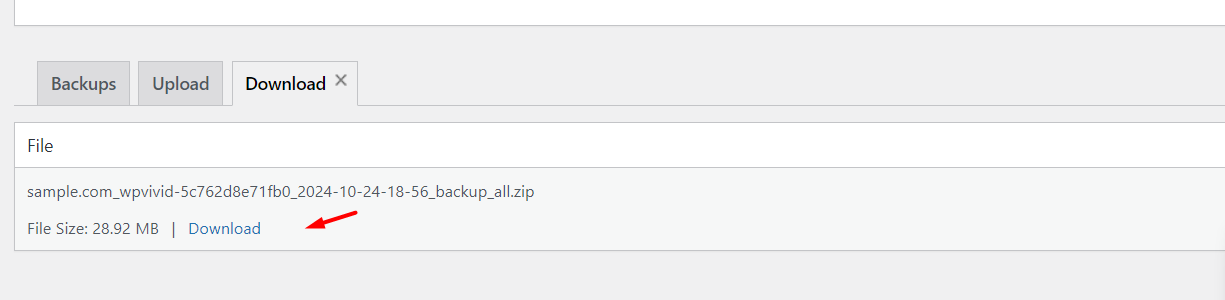
The backup will be downloaded to your Desktop.
New Server / Hosting
Step 1: Install the WordPress, install and activate the same WPvivid plugin as I explain to you above.
Step 2: Go to the bottom of the page, click the upload option, and choose the file
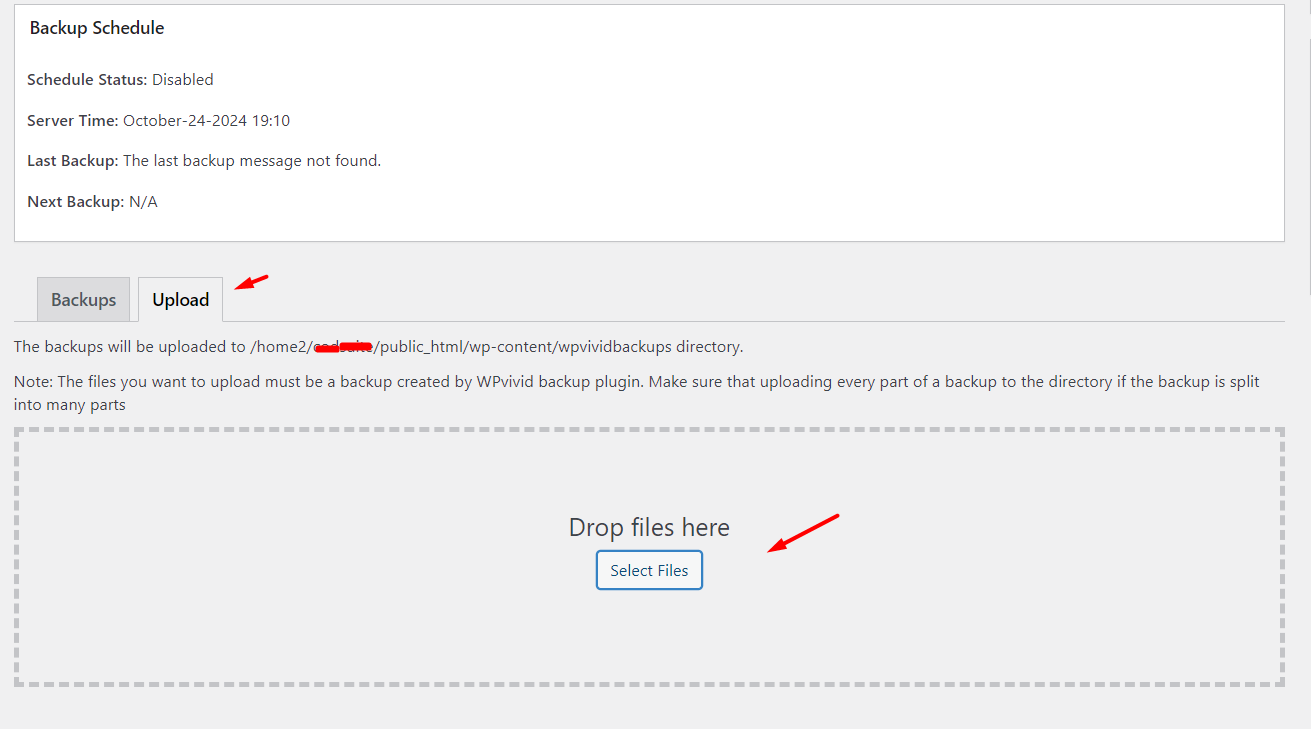
Step 3: Once the file is chosen, Click the upload option
Step 4: Once it is complete to 100 %, click the restore option
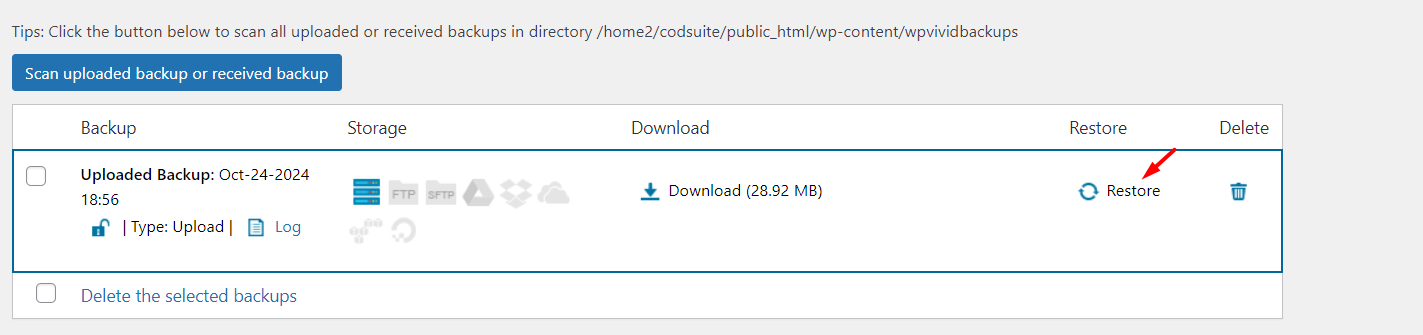
Again, it will ask for confirmation to restore, click Restore to complete migration.
Note: while restoring the backup in-between don’t move to another tab or close it, otherwise it will give the error for your website.
Once completed, you will get the ‘Restore completed successfully’ message.
How to Restore WordPress Manually and Connect MySQL Database:
Restore WordPress Files:
Before starting this process, download full backup from cPanel and do the following process,
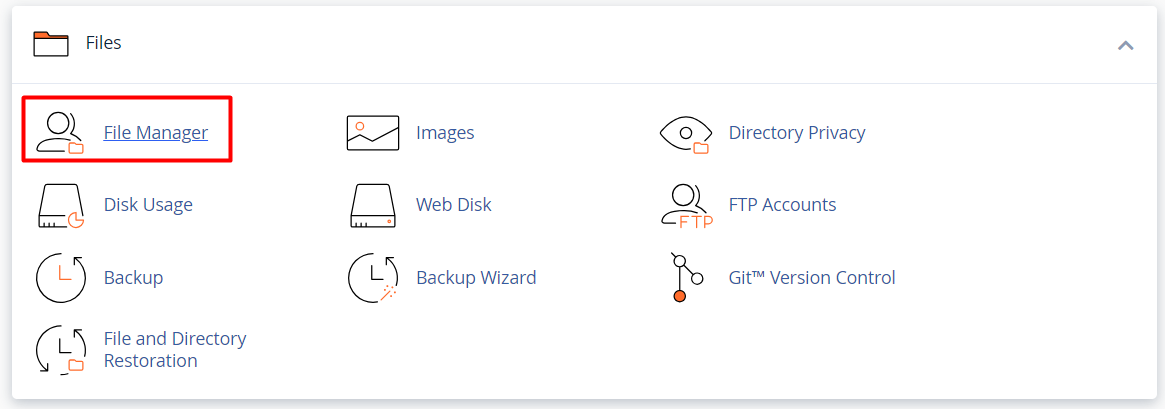
Step 1: Log into your cPanel.
Step2: Navigate to the file section and click File manager
Step 3: Go to public_html directory and click “upload” button at the top.

Step 4: Once the file was uploaded, right click on the file – extract and again click extract files.
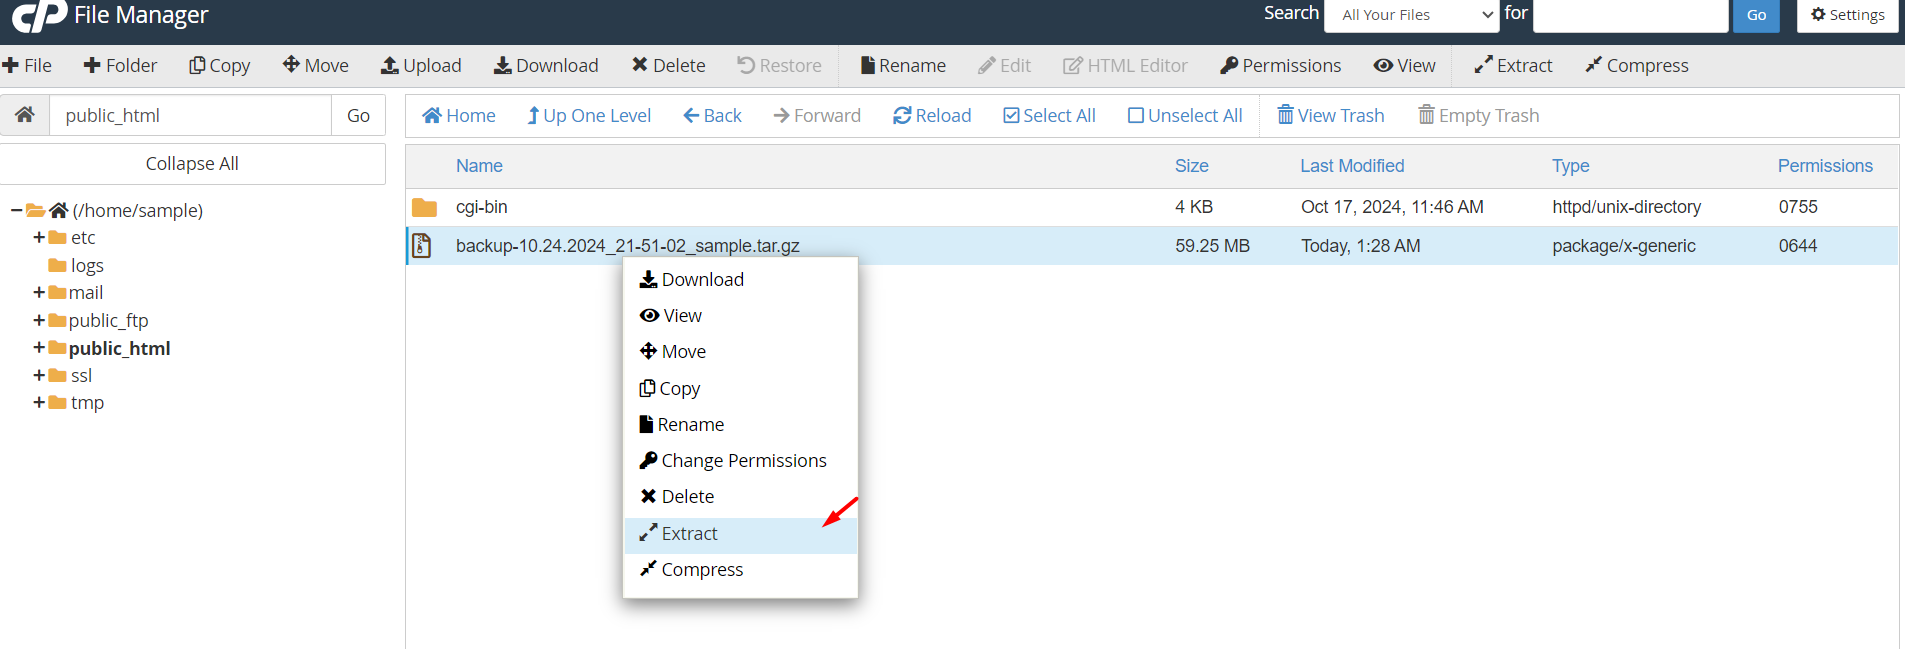
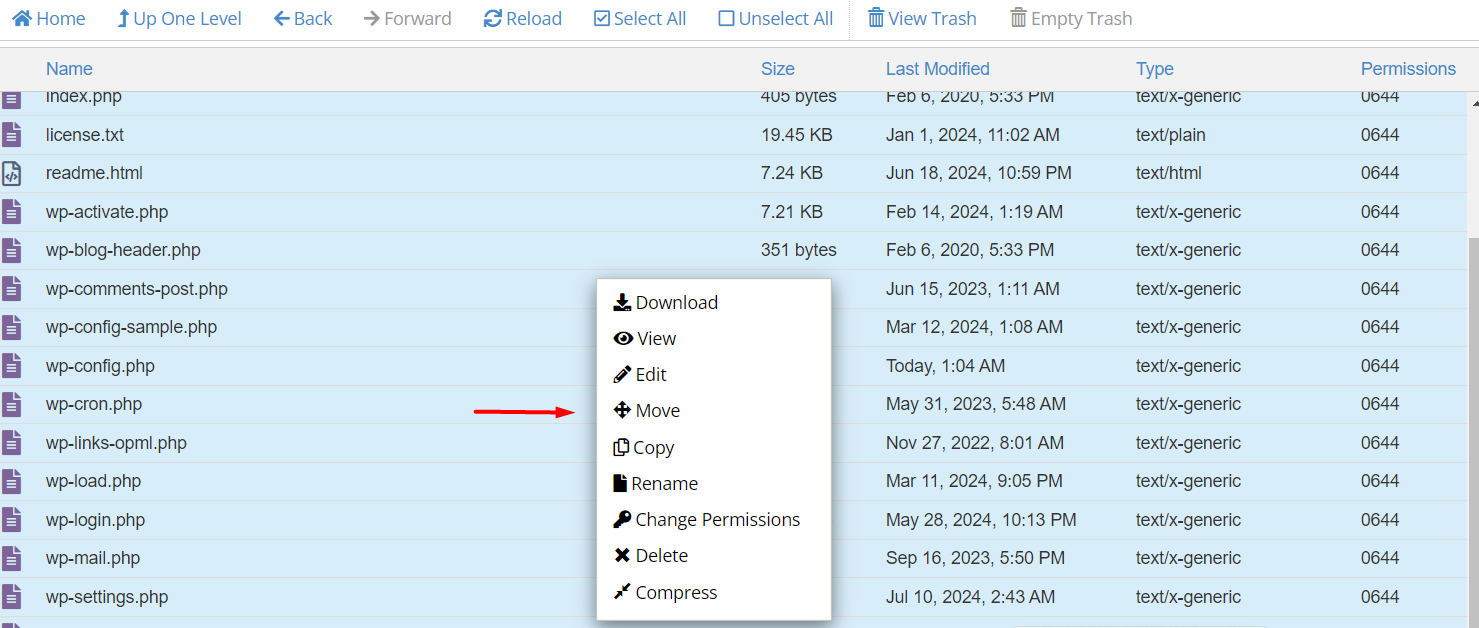
Step 5: Go to the backup folder, that you have extracted now.
In the backup folder, go inside the public_html directory and click “select all the files” at the top. Then right click on any of the files and select move option. Now specify the path as – /public_html and it will move all the files to original public_html directory.
At last, remove the .zip file by selecting it and clicking on ‘Delete’ in the menu at the top of the cPanel
Restore SQL file:
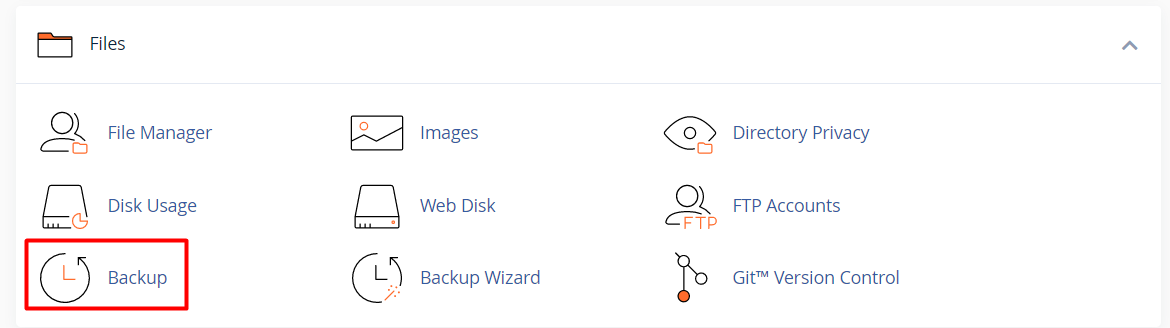
Step 1: Go to the backup option in the cPanel.
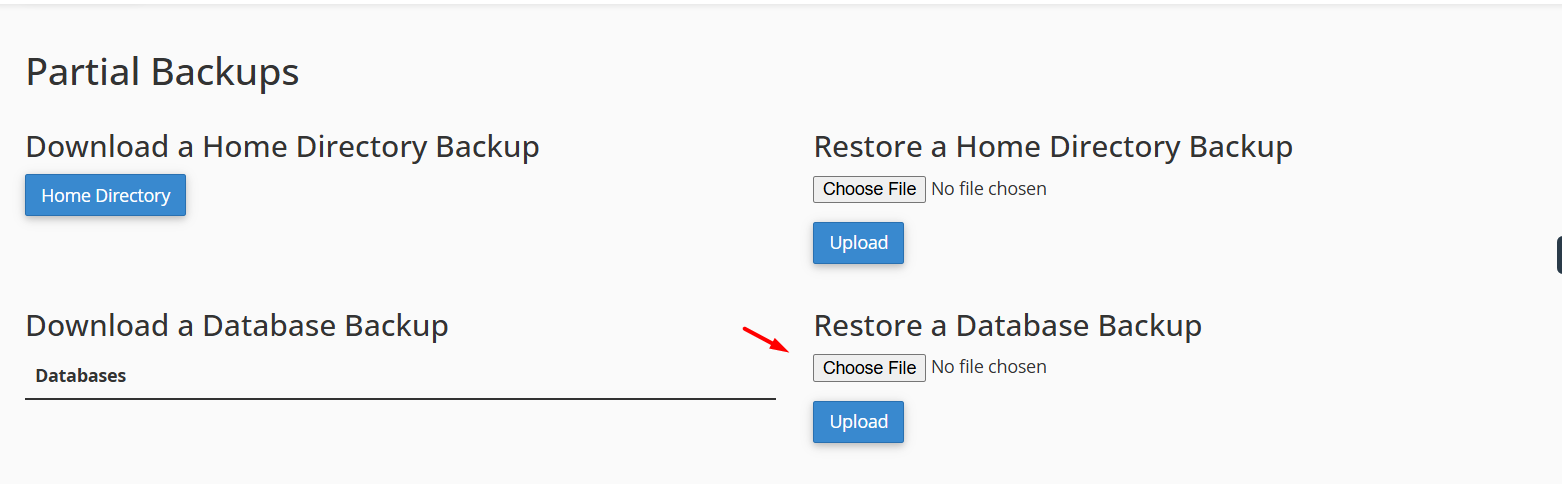
Step 2: From the ‘Restore a Database backup’ option, click ‘Choose file’ button and upload the SQL file.
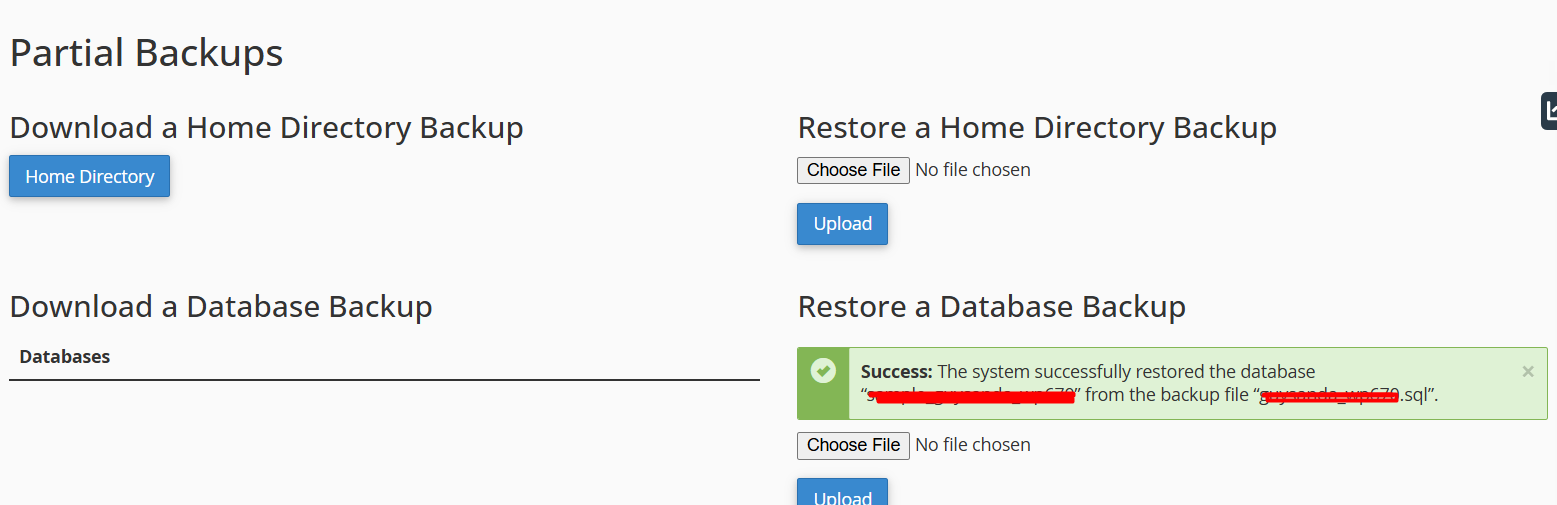
Once complete, it will show the messages as the system successfully restored the database.
Once done, the next important step is to create and add a user for your recently uploaded database.
Step 4: Search “manage my database” in searchbar.

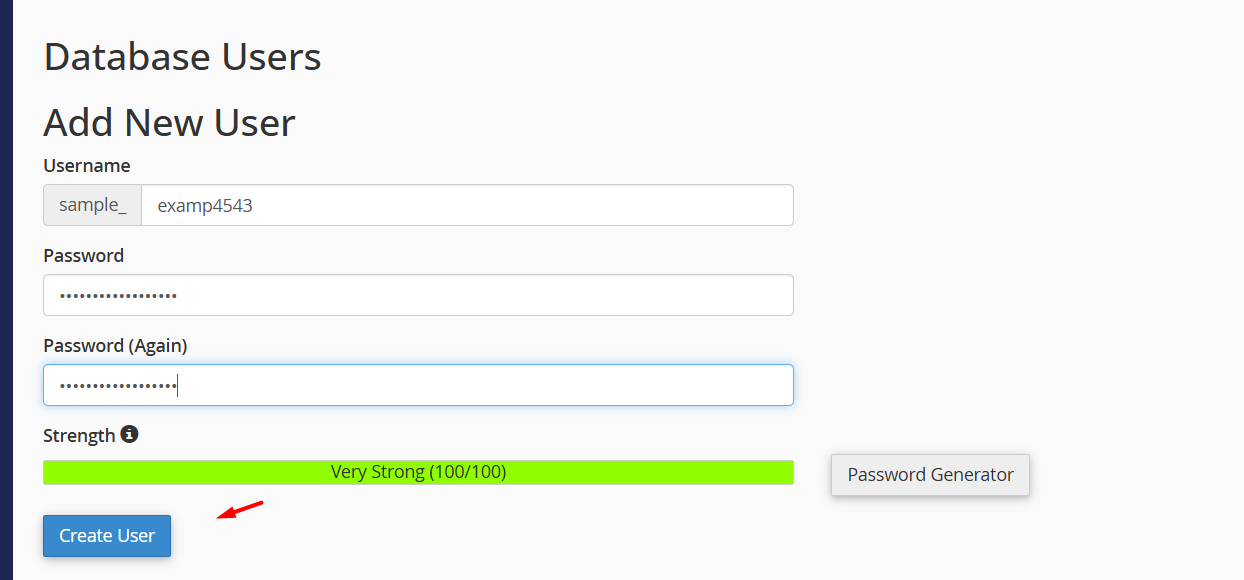
Scroll down a little, you will find the option to add a user.
Step 5: Under ‘Add New User’ enter the username and password of the new database user that you want to Connect MySQL Database with. Once done, click ‘Create User’.
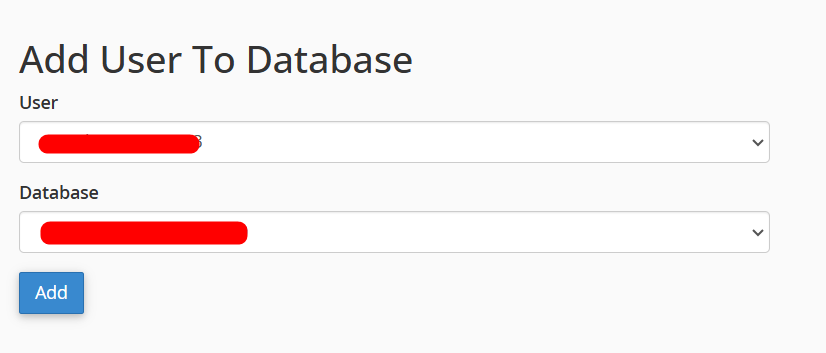
Then click the go back option and then Connect MySQL Database user to the database name by clicking the username and database under the ‘Add User to Database’ option and clicking add.
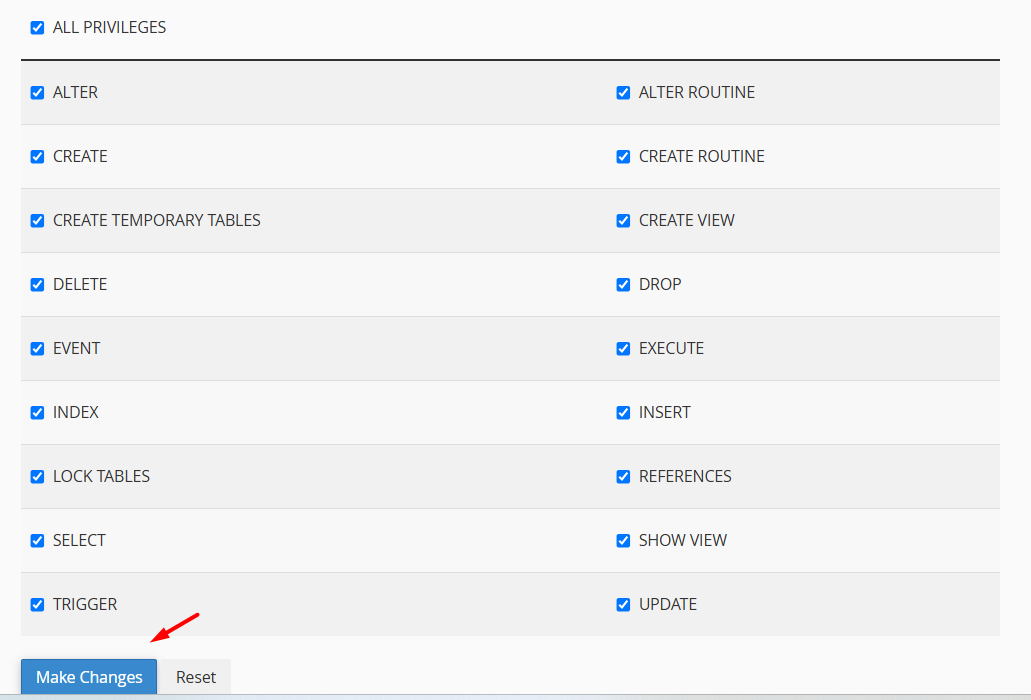
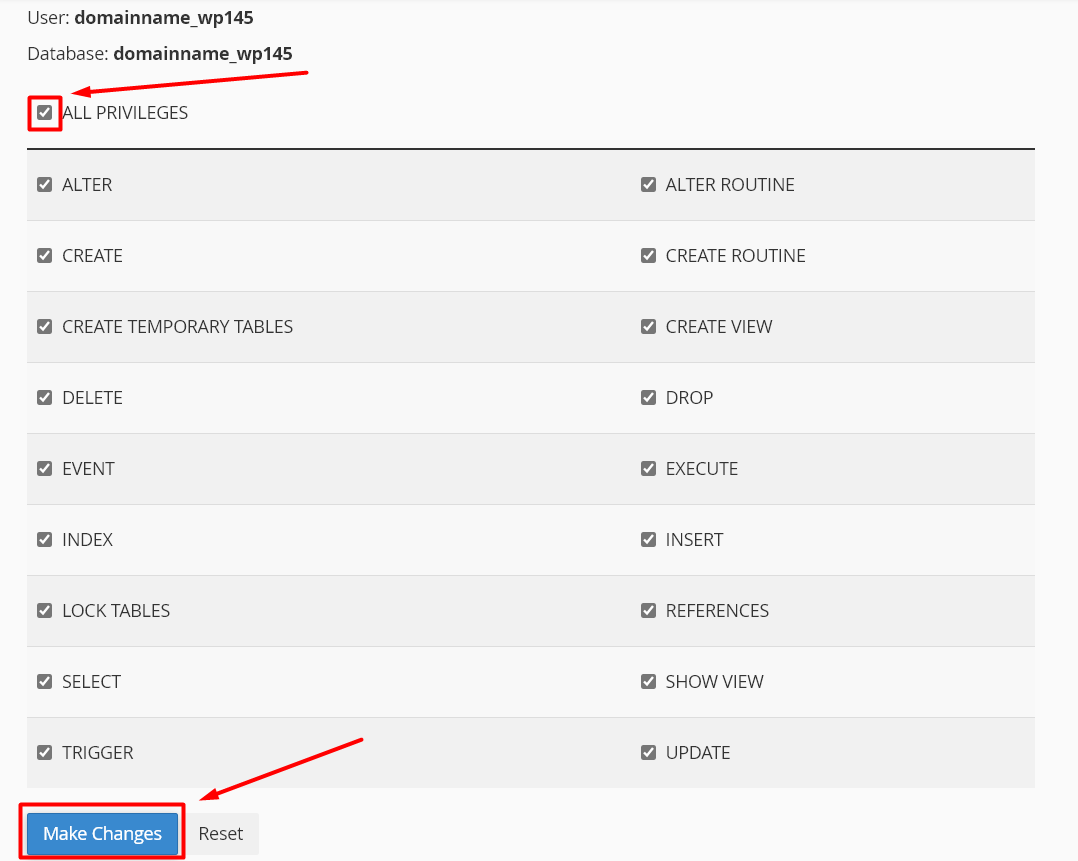
Step 6: Click the ALL Privileges option and finally click the ‘Make changes’ option at the bottom.
Process to Connect MySQL Database in WordPress:
1. Locate Wp-Config File:
Step 1: Login to cPanel -> Files section -> File Manager.
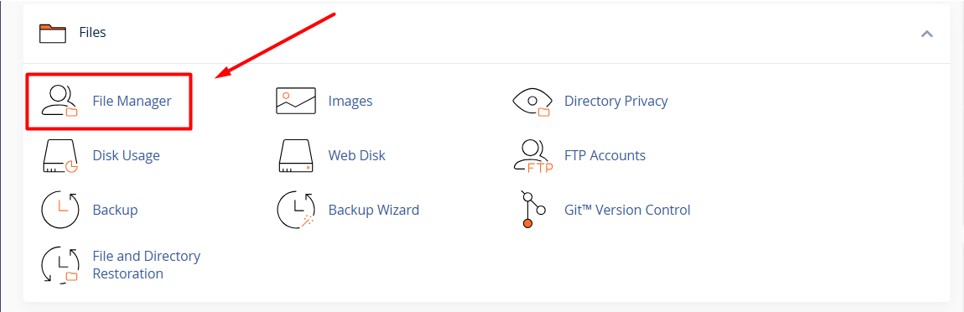
Step 2: Click public_html folder once entered into File manager.
Step 3: Right click on the ‘wp-config.php’ file -> Click “Edit” option. If it ask to confirm edit again, click “Edit” button.

Step 4: You will see many lines of code in the file. In that find the below line which are the essential ones to Connect MySQL Database in WordPress.
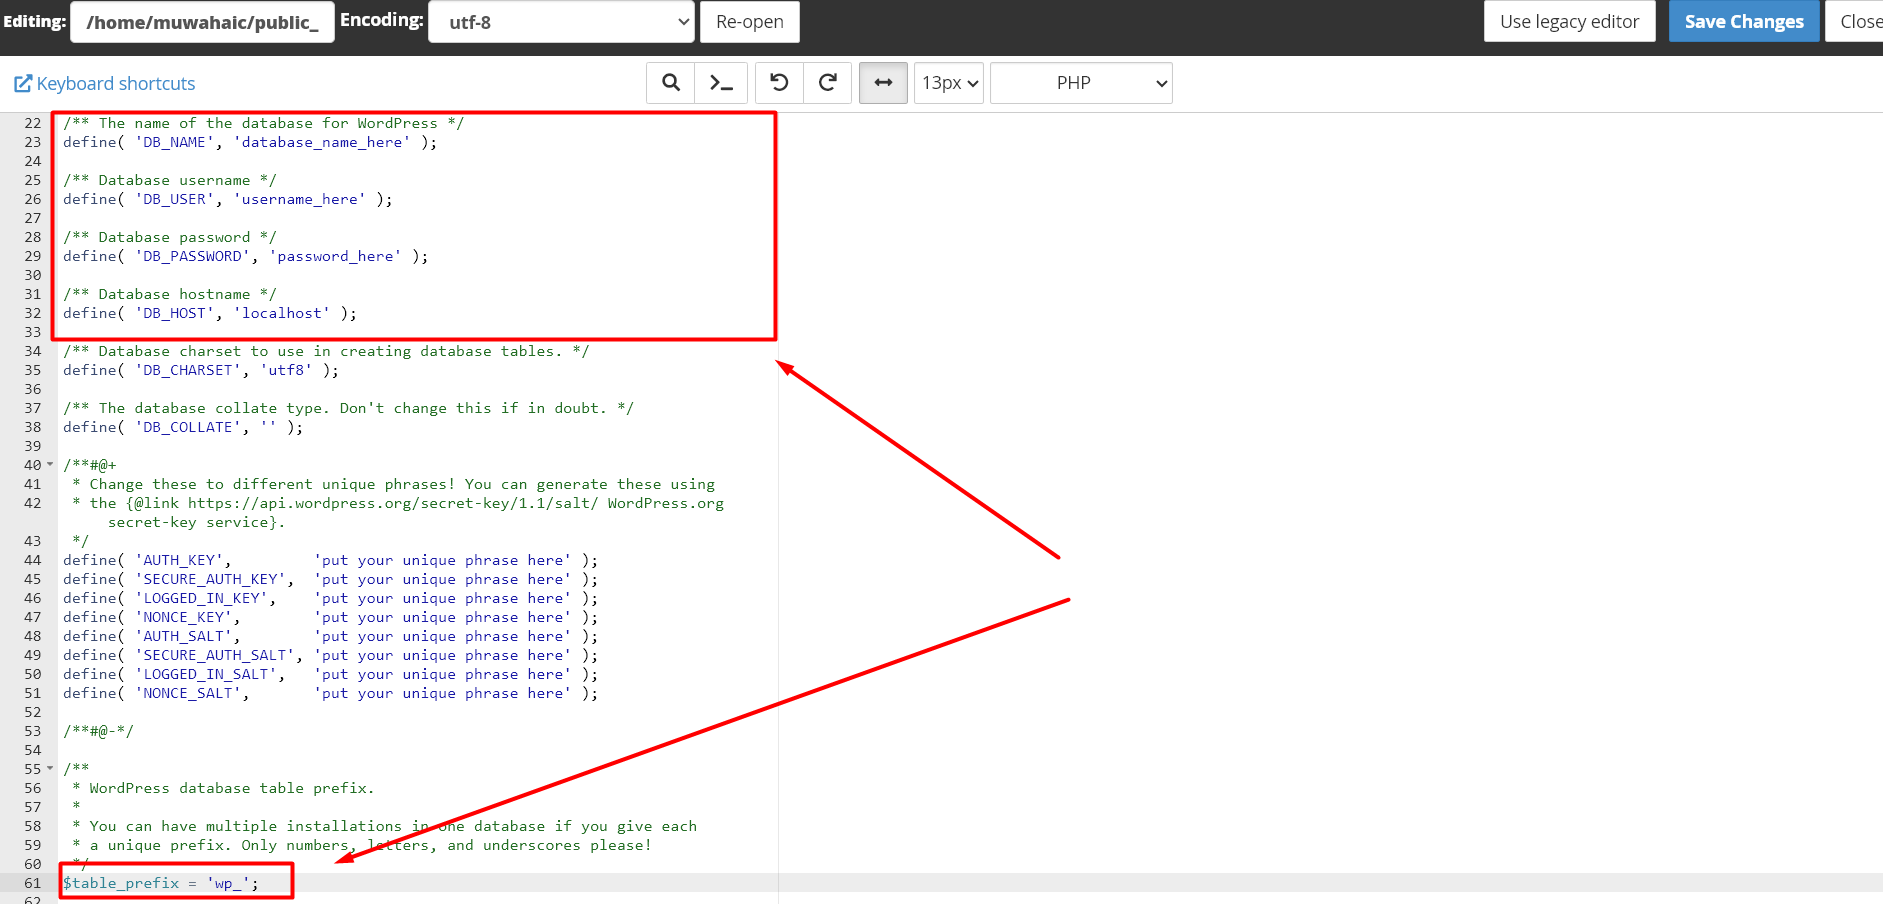
/** The name of the database for WordPress */
define( ‘DB_NAME’, ‘sample_wp145’ ); -> here sample_wp145 is denoting the database name.
/** Database username */
define( ‘DB_USER’, ‘sample_wp145’ ); -> here sample_wp145 is denoting the database username.
/** Database password */
define( ‘DB_PASSWORD’, ‘Sj3]06p4J-‘ ); -> here Sj3]06p4J- is denoting the database password.
/** Database hostname */
define( ‘DB_HOST’, ‘localhost’ ); -> here localhost is common for all the WordPress sites. Make sure your wp-config file has database hostname set as localhost. Based on the database version you are using; your hostname might change.
Scroll a little and you can find the below line of codes taken from the existing database which is set as prefix of all the tables in phpMyAdmin.
$table_prefix = ‘wpvz_’; -> here wpvz_ denoting the table prefix,
2. Determine Correct Database Settings:
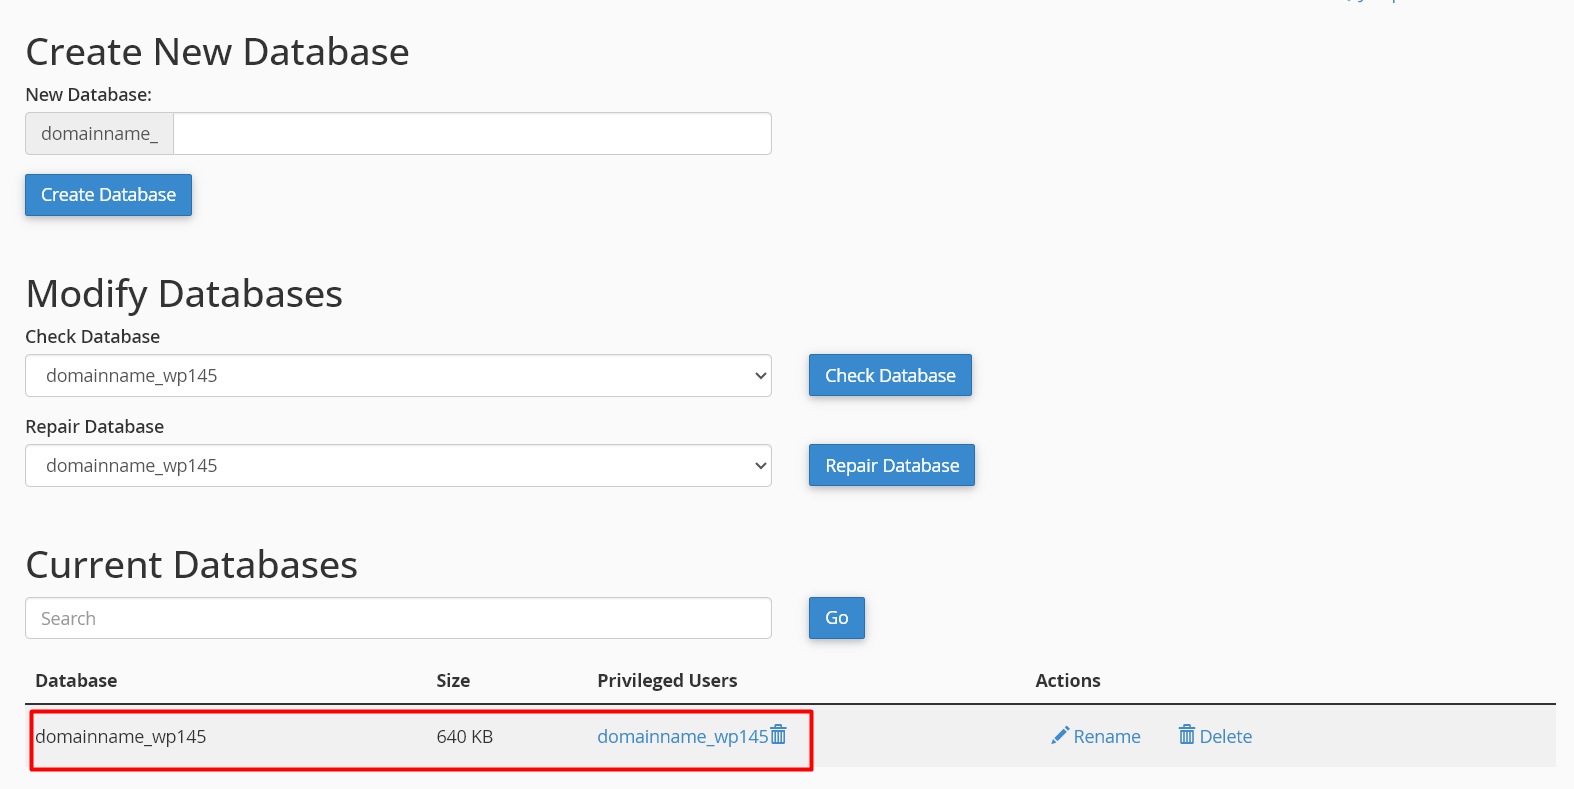
Step 5: To fill in these values, you will need database information, which you can find under the section “Database” – “MySQL Databases” from the control panel.
Step 6: On the MySQL Databases page, you will find the list of your current database, username, and password.
Scroll a little and you can find the database user details.
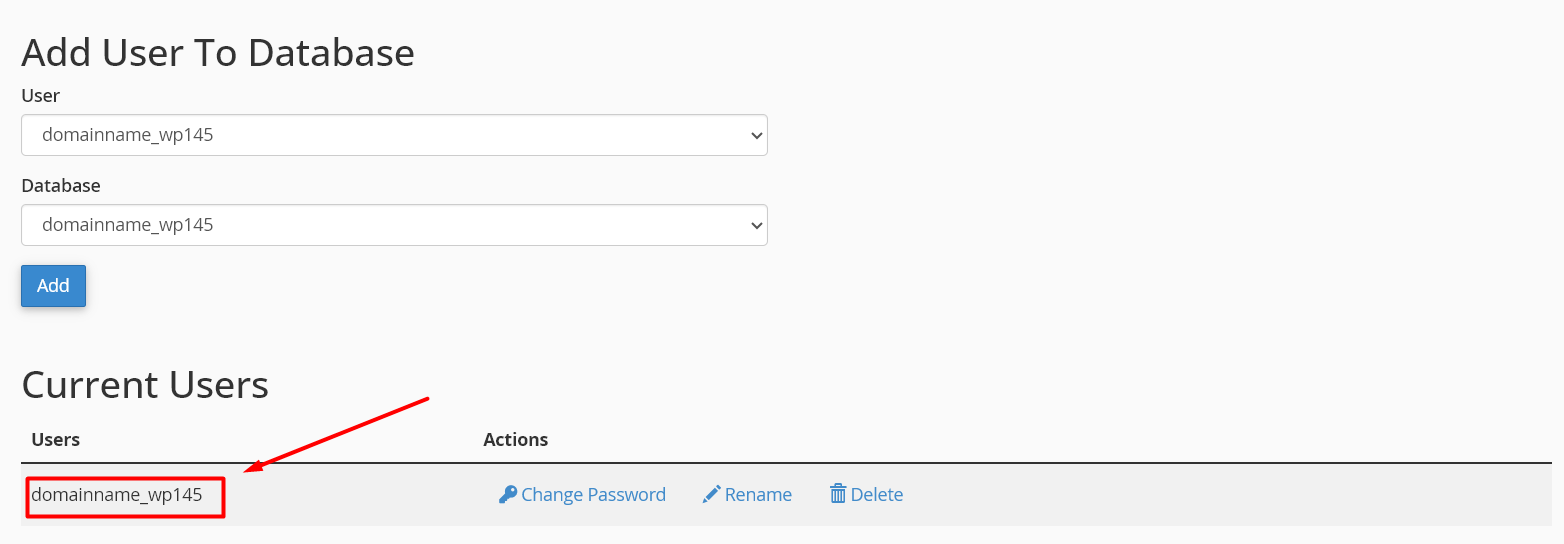
Step 7: To Connect MySQL Database user with the database, you need to add the user to database. From the above image, click “ADD” button by selecting the right database user and database name from the drop down.
Step 8: Click the checkbox near the “All Privileges” and click “Make Changes” button to apply the changes.
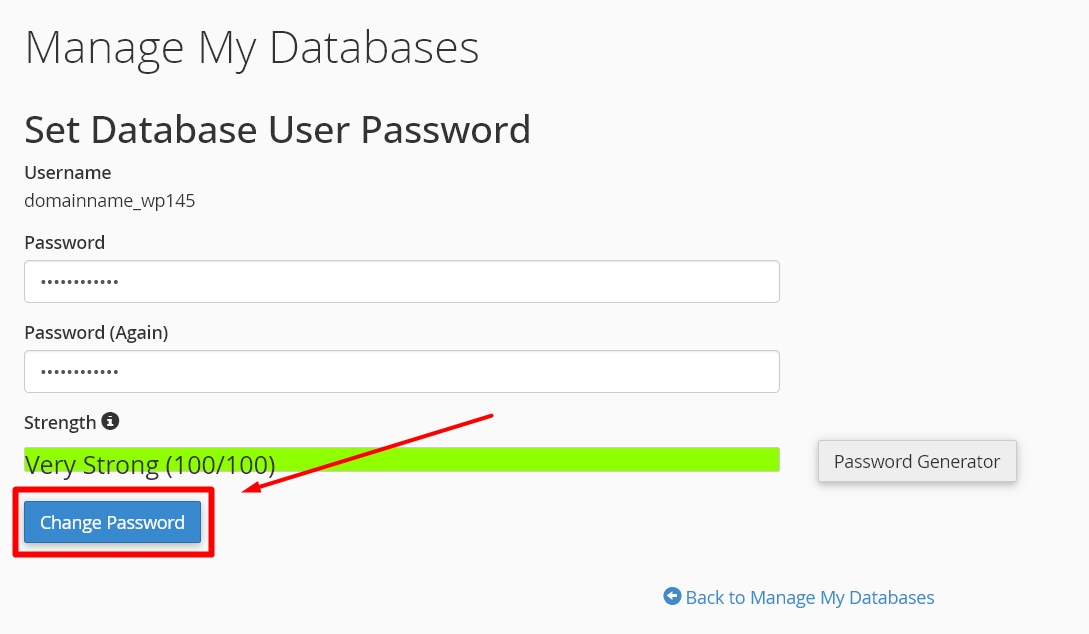
3. Change the Password for Database User:
Step 9: Now click Go Back button. If you have forgotten your database password, then you can reset the password by clicking the “Change Password”.

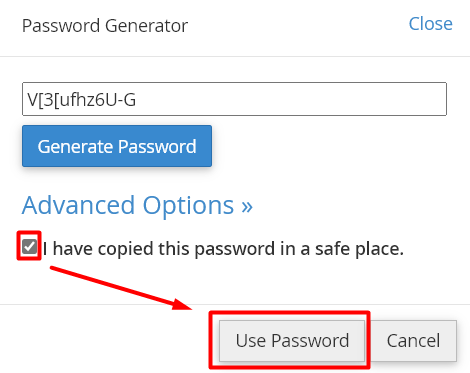
Step 10: Click “Password Generator” button.
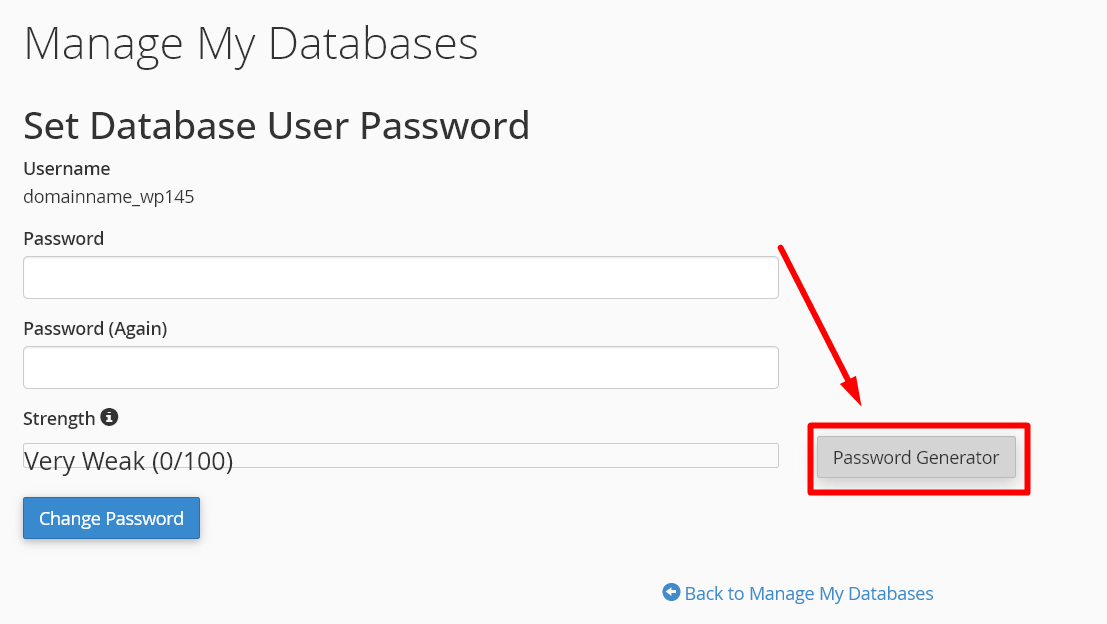
Step 11: Copy the password generated and click the checkbox near “I have copied this password in a safe place”. Now click “Use Password” button to apply the password for the user.
Step 12: Click “Change Password” button to update the password for the user.
Step 13: Now click “Back to Manage My Databases” option. Go to File manager -> Public_Html -> Edit the wp-config file to update the database settings information collected.
3. Find the Table Prefix of the Database:
Step 14: Click “phpMyAdmin” option under the Database Section.

Step 15: From the list of databases available in phpmyadmin, click the correct database name.

Step 16: Now copy the table prefix which is before the underscore symbol ‘_’.

That’s all now we have successfully Connect MySQL Database in WordPress with Database and its user.
Note: Make Sure you have updated the nameserver in your domain and propagation has been completed all over the globe
Additional Resources:
1. How to Find Your WordPress Database Name in 3 Right Methods
2. How to Add a WordPress Admin User in phpMyAdmin | SeekaHost India
3. How To Install WordPress In cPanel | SeekaHost India – Web Hosting Provider in India