


How to Upload Files in Plesk File Manager?

By Karthi | July 18, 2026










Plesk hosting allows you to manage the websites and account via dedicated plesk control panel instead of cPanel. It’s one of the most used control panel apart from cPanel for managing websites files. You can also Upload Files in Plesk easily much similar to cpanel and other control panel for your websites.
Let’s help you on How to Upload Files in Plesk File Manager for your websites.
Procedure to Upload Files in Plesk
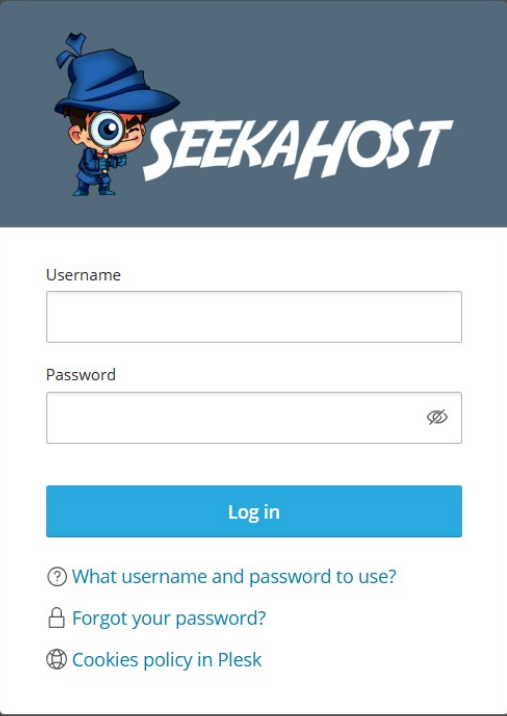
Step 1: Log in to the website Plesk control Portal
Control Panel URL:
1. https://domainname.com:8443 (or)
2. ipaddress:8443 (or)
3. https://srv330.seekahost.net:8443 (direct access without pointing nameserver/IP)
Replace the domainname with your actual website name and ipaddress with your allocated website ip address.
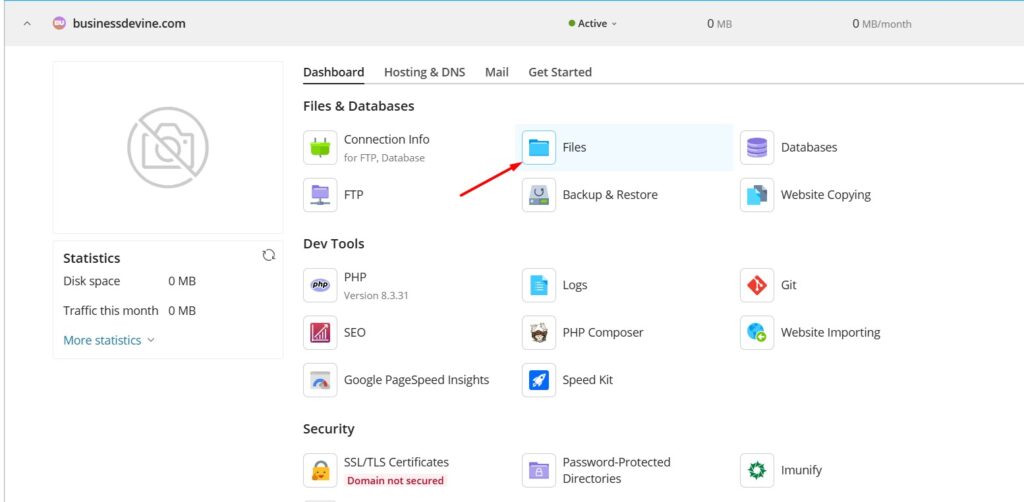
Step 2: Click on Files option from dashboard
Step 3: On left side, select “httpdocs” directory and click on the + Icon at the top and click Upload File / Upload directory (Folder).
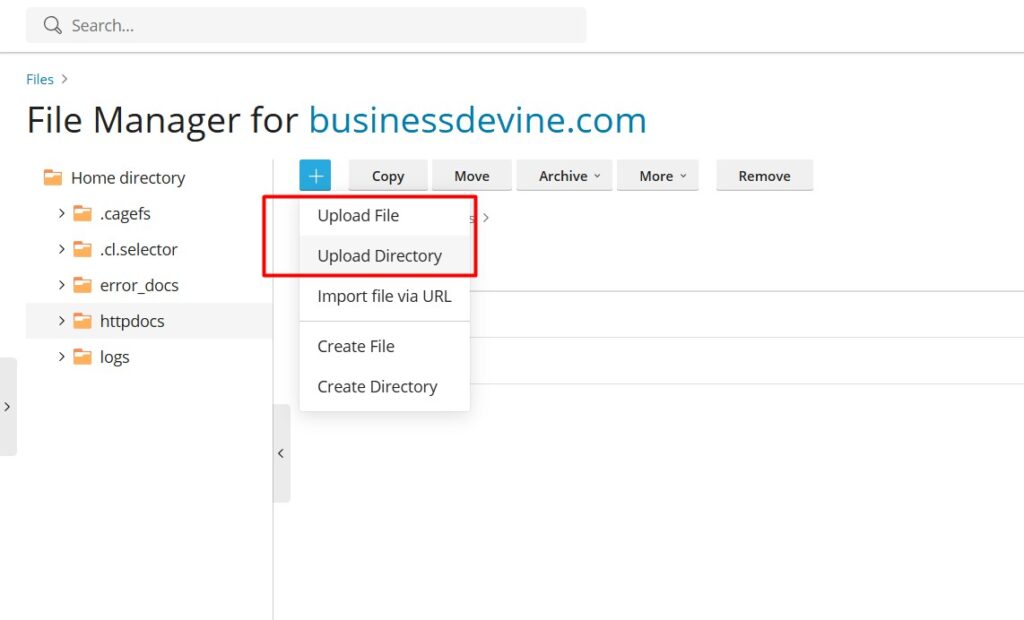
NOTE: httpdocs directory is the website root path from which the website will be live with the uploaded content files.
Step 4: Choose a file or folder from your local system that you want to upload, select a file or folder, and click on Open to Upload Files in Plesk.
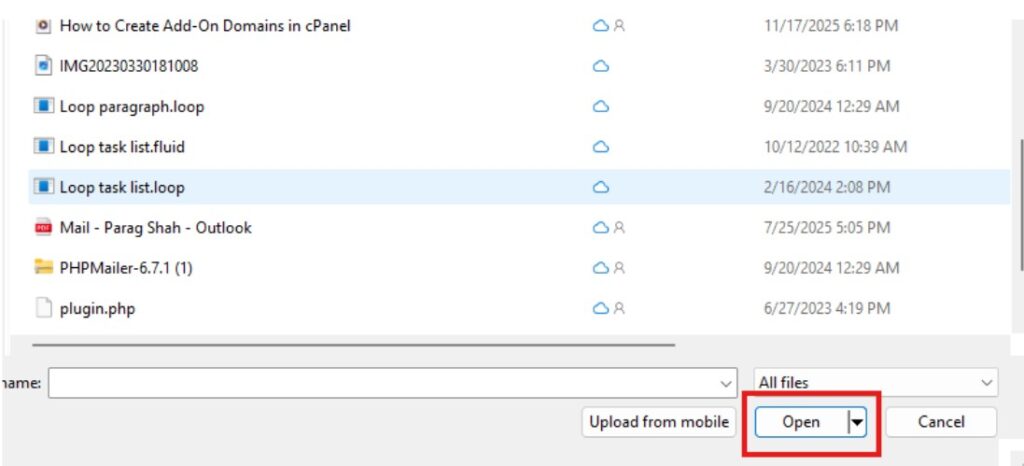
Once done, your file will be uploaded in the file manager. You can add multiple files by selecting all or compress the folder in zip format to upload a folder.
NOTE: You can also Create and Backup Restore in Plesk to secure website data.
Video Reference: